Framer
13 min
How to edit and customize Framer Templates: The Complete Guide

Lazar Filipovic
Founder of Neutro Supply

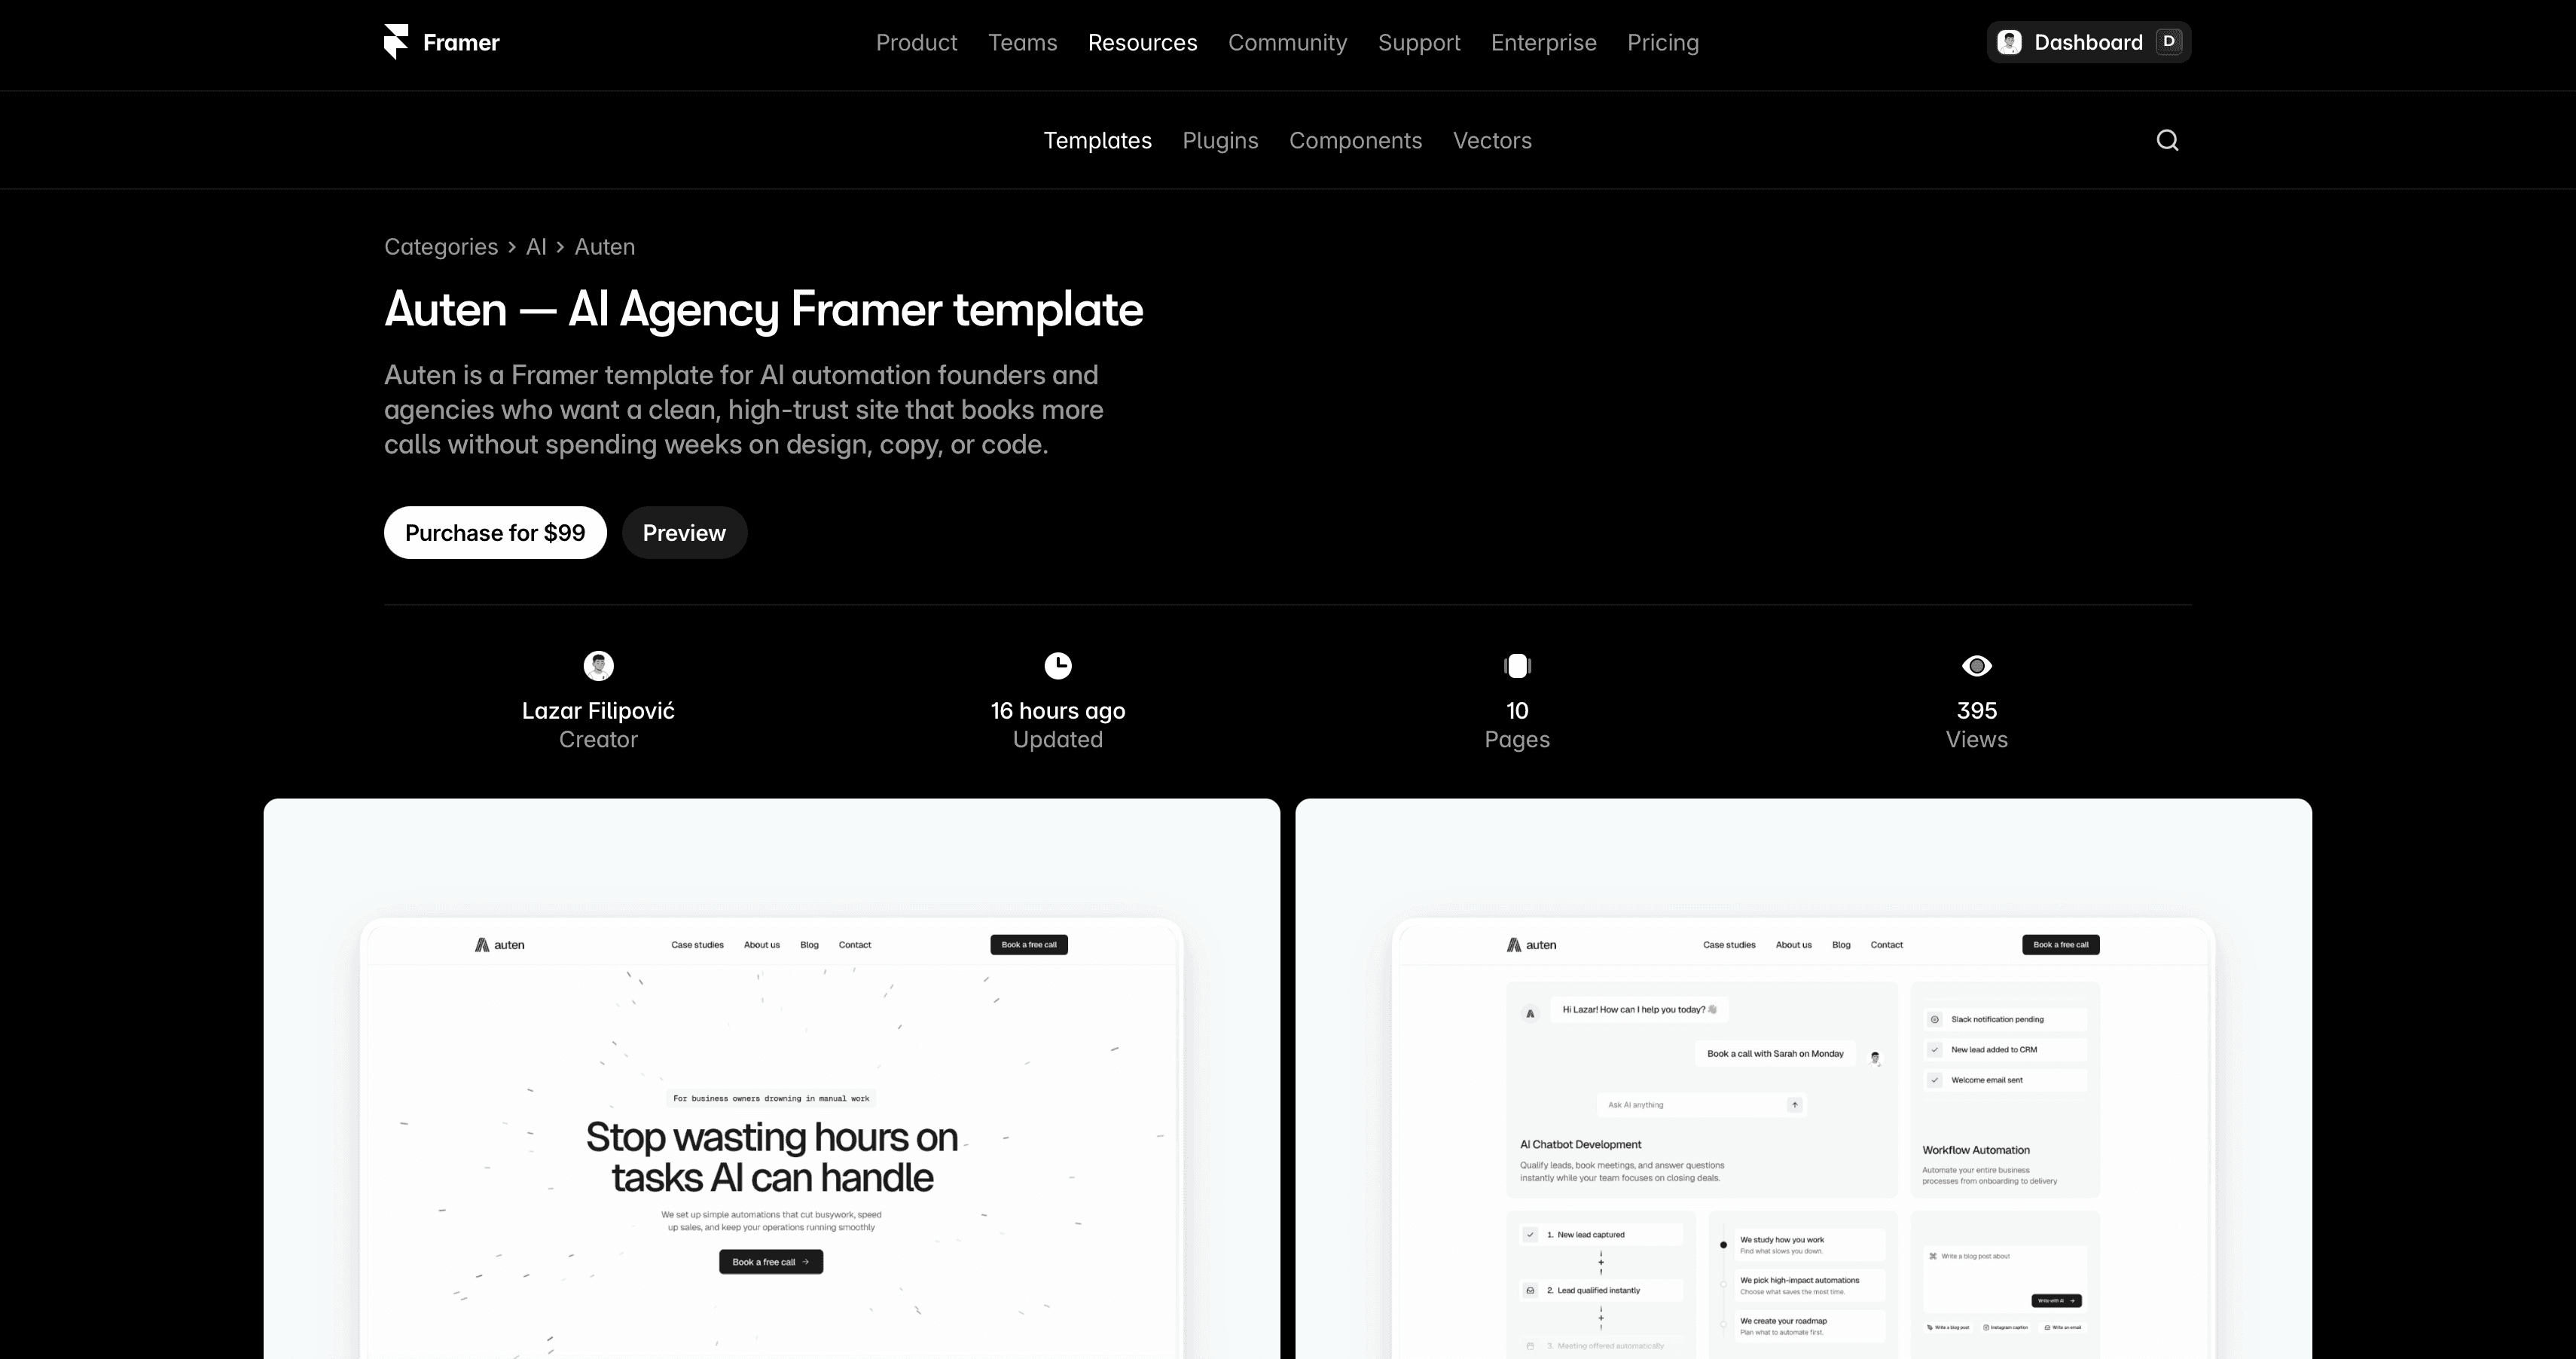
How to choose the right template?
The template you choose will directly affect how easy it is to edit and whether you can successfully launch your site without issues.
My advice is to first clearly define what you want your website to do and how you imagine it looking. That way, you can choose exactly what fits your needs.
Do you prefer a minimal style or something with more colors? Are you building a sales-focused landing page or a multi-page website?
All of this matters when choosing a template.
But in my opinion, one of the most important things, maybe the most important, is choosing a template made specifically for your business and your niche.
You’re much more likely to find exactly what you need that way. For example, if you use a design studio template for a videography studio, customizing everything will be much harder.
Another important thing is to check what the creator includes with the template. Many offer video guides, pre-launch checklists, copywriting prompts, and other helpful resources that make launching much easier.
That’s a must-buy and it greatly increases your chances of a successful launch.
How to duplicate a template you want?
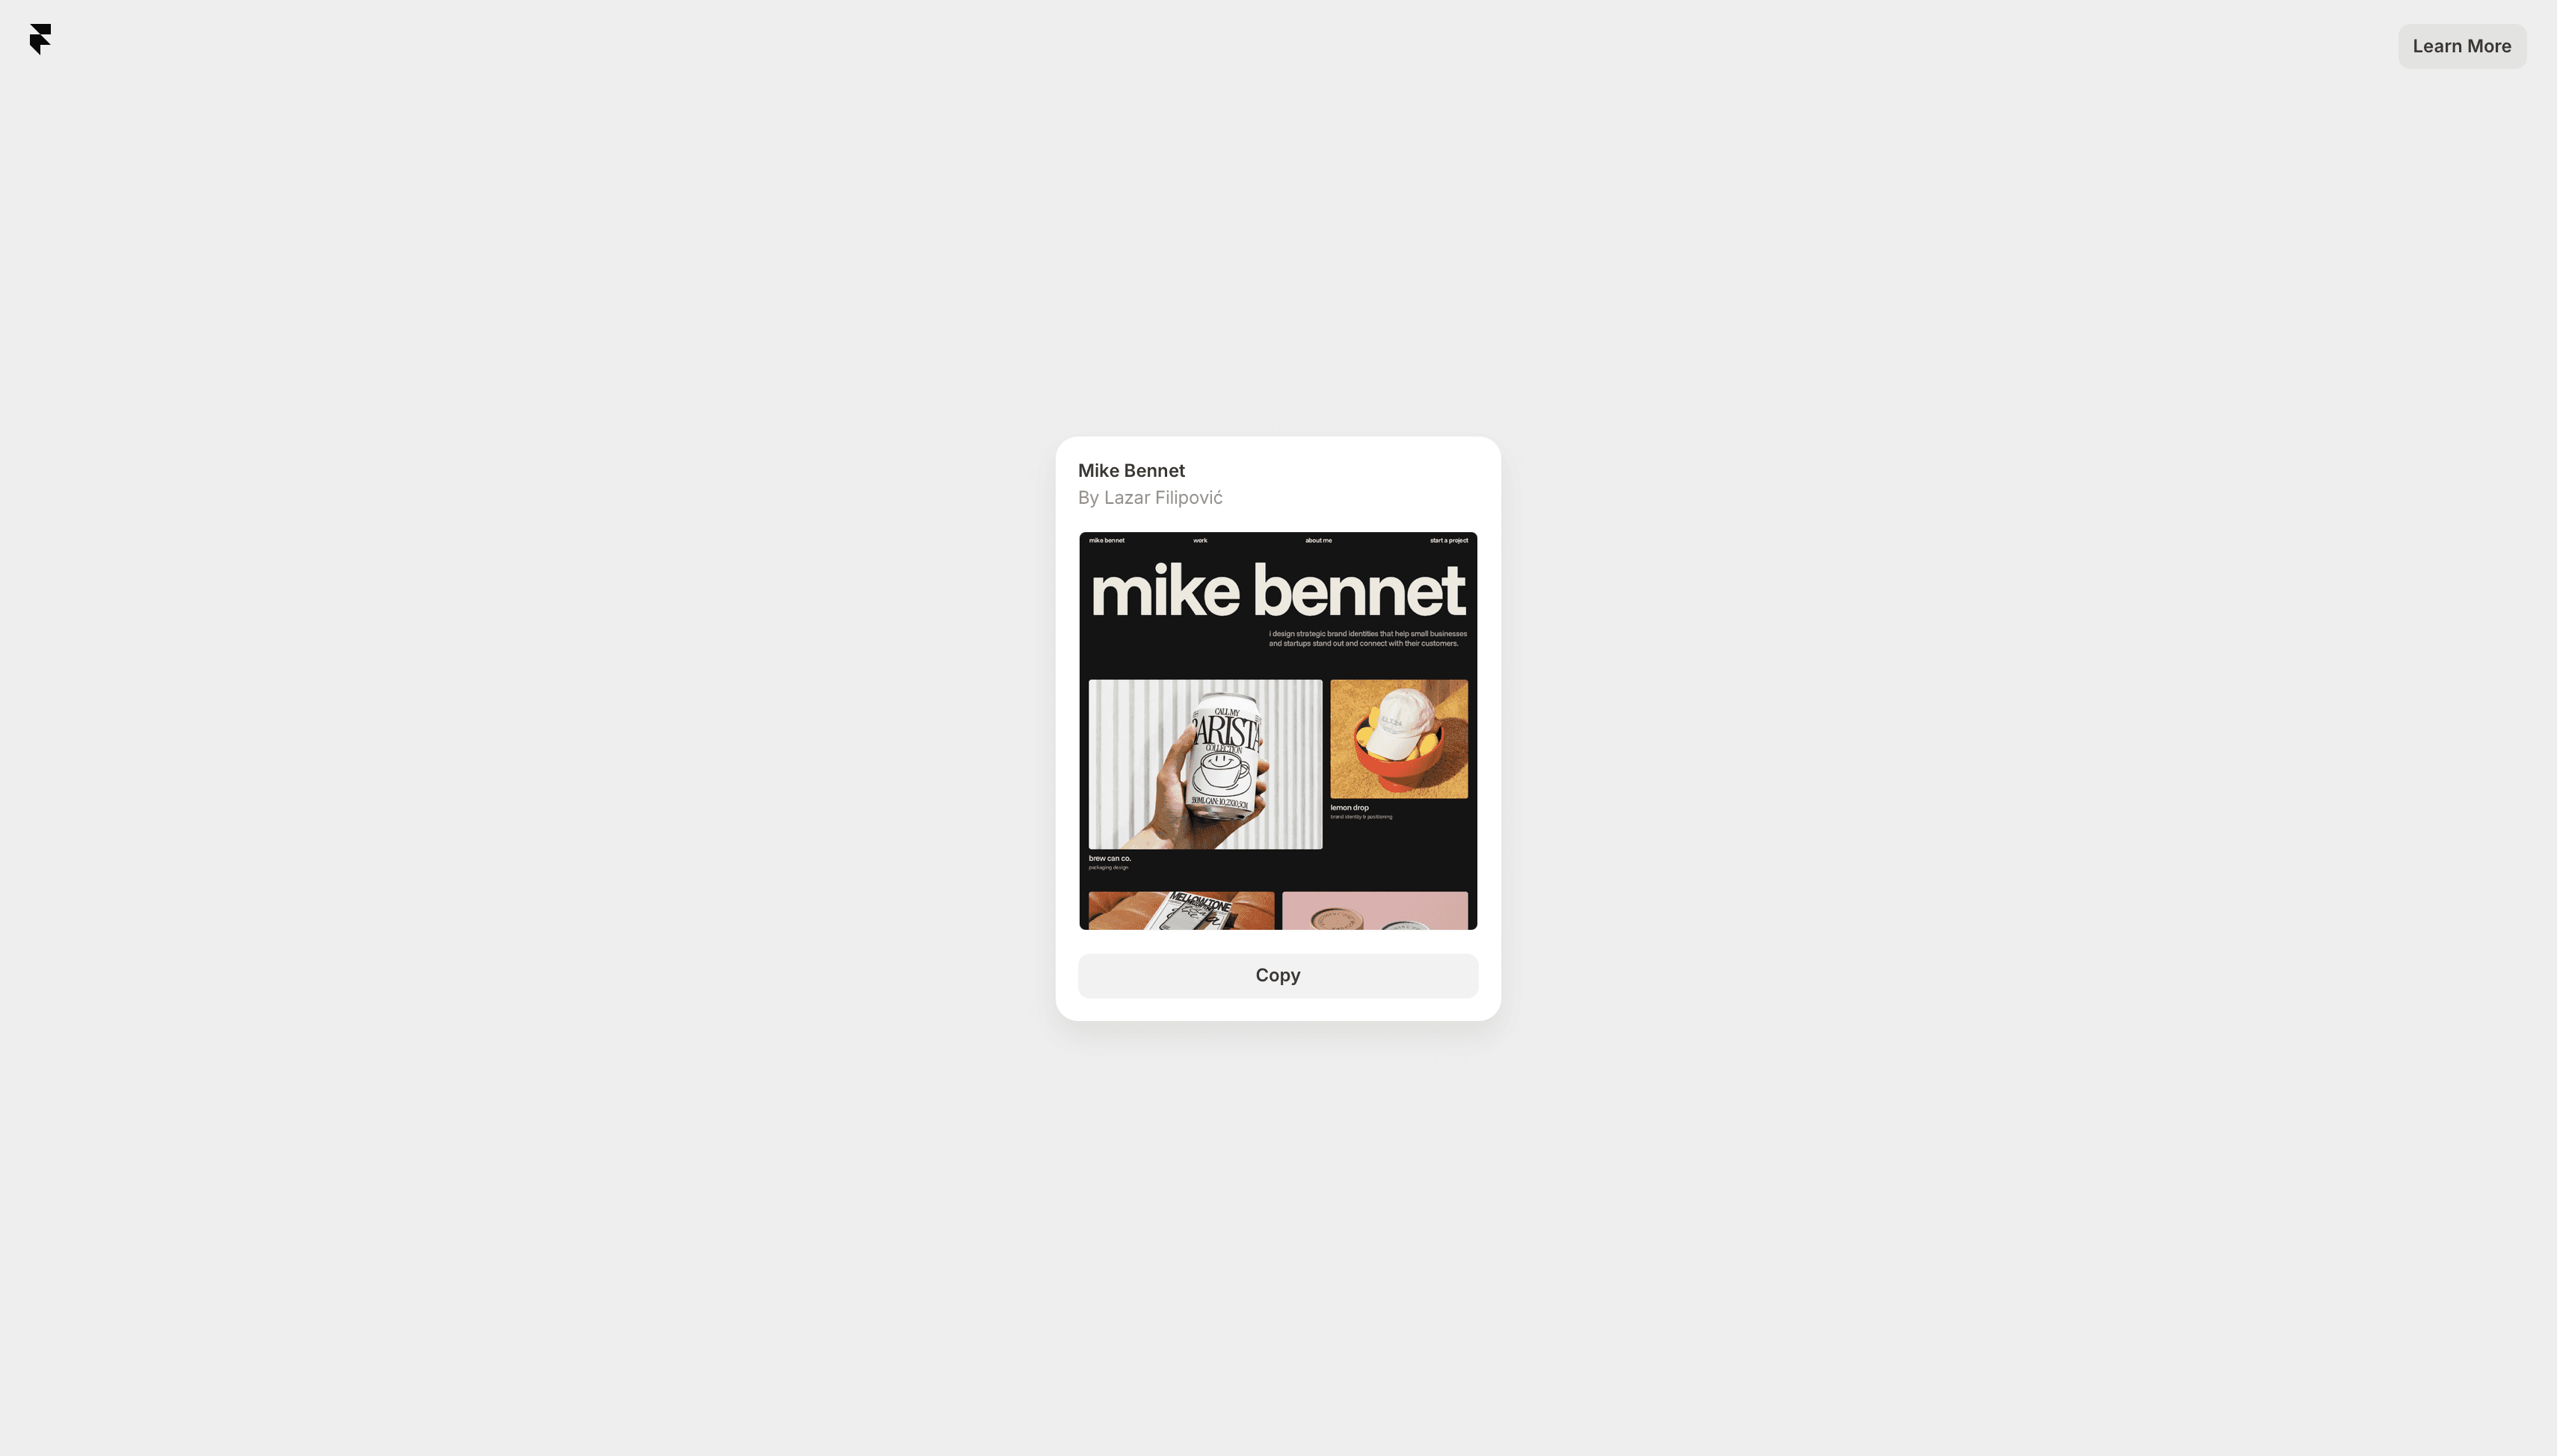
There are many free templates on marketplaces.
You just find the site, open the preview, check everything out, and click “Use for free.” You’ll then get a screen where you can copy the template.
If you don’t have a Framer account, you’ll need to create one. If you already have one, the template will simply duplicate.
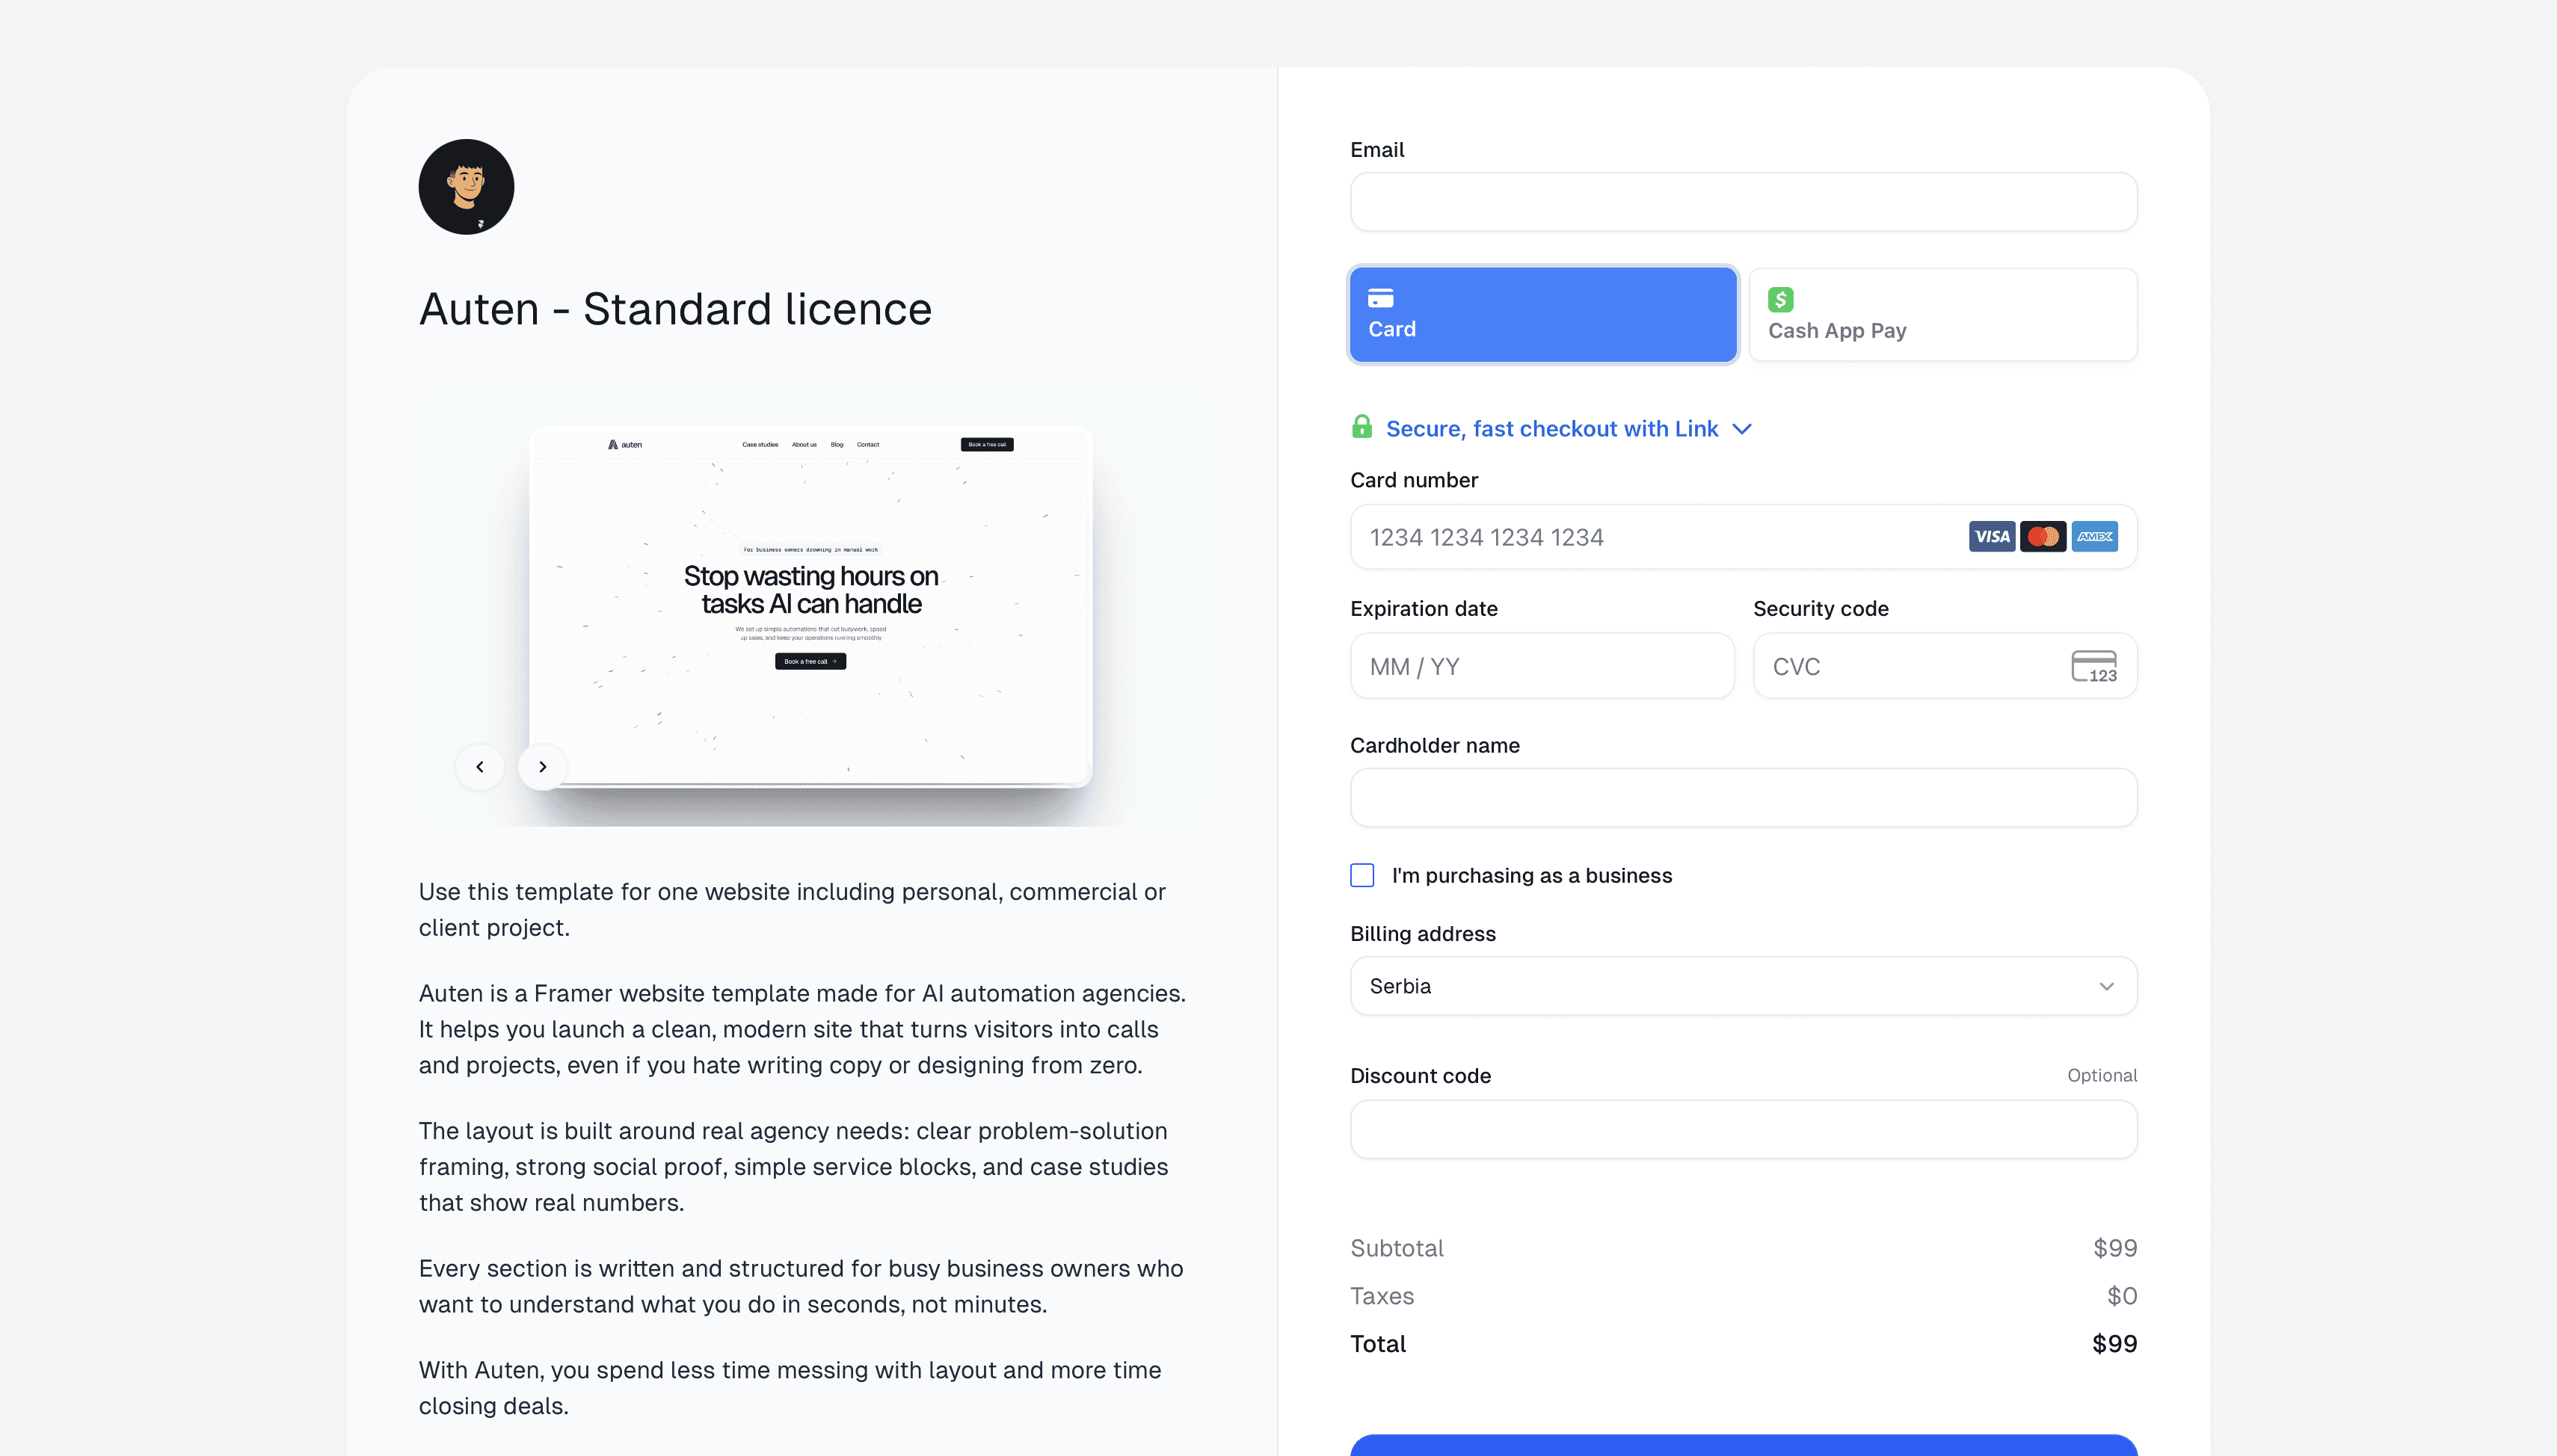
For paid templates, the process is the same, except you’ll go through checkout on Polar or Lemon Squeezy. After that, you’ll get a remix link on the screen and also by email.
What does the Framer workspace look like?
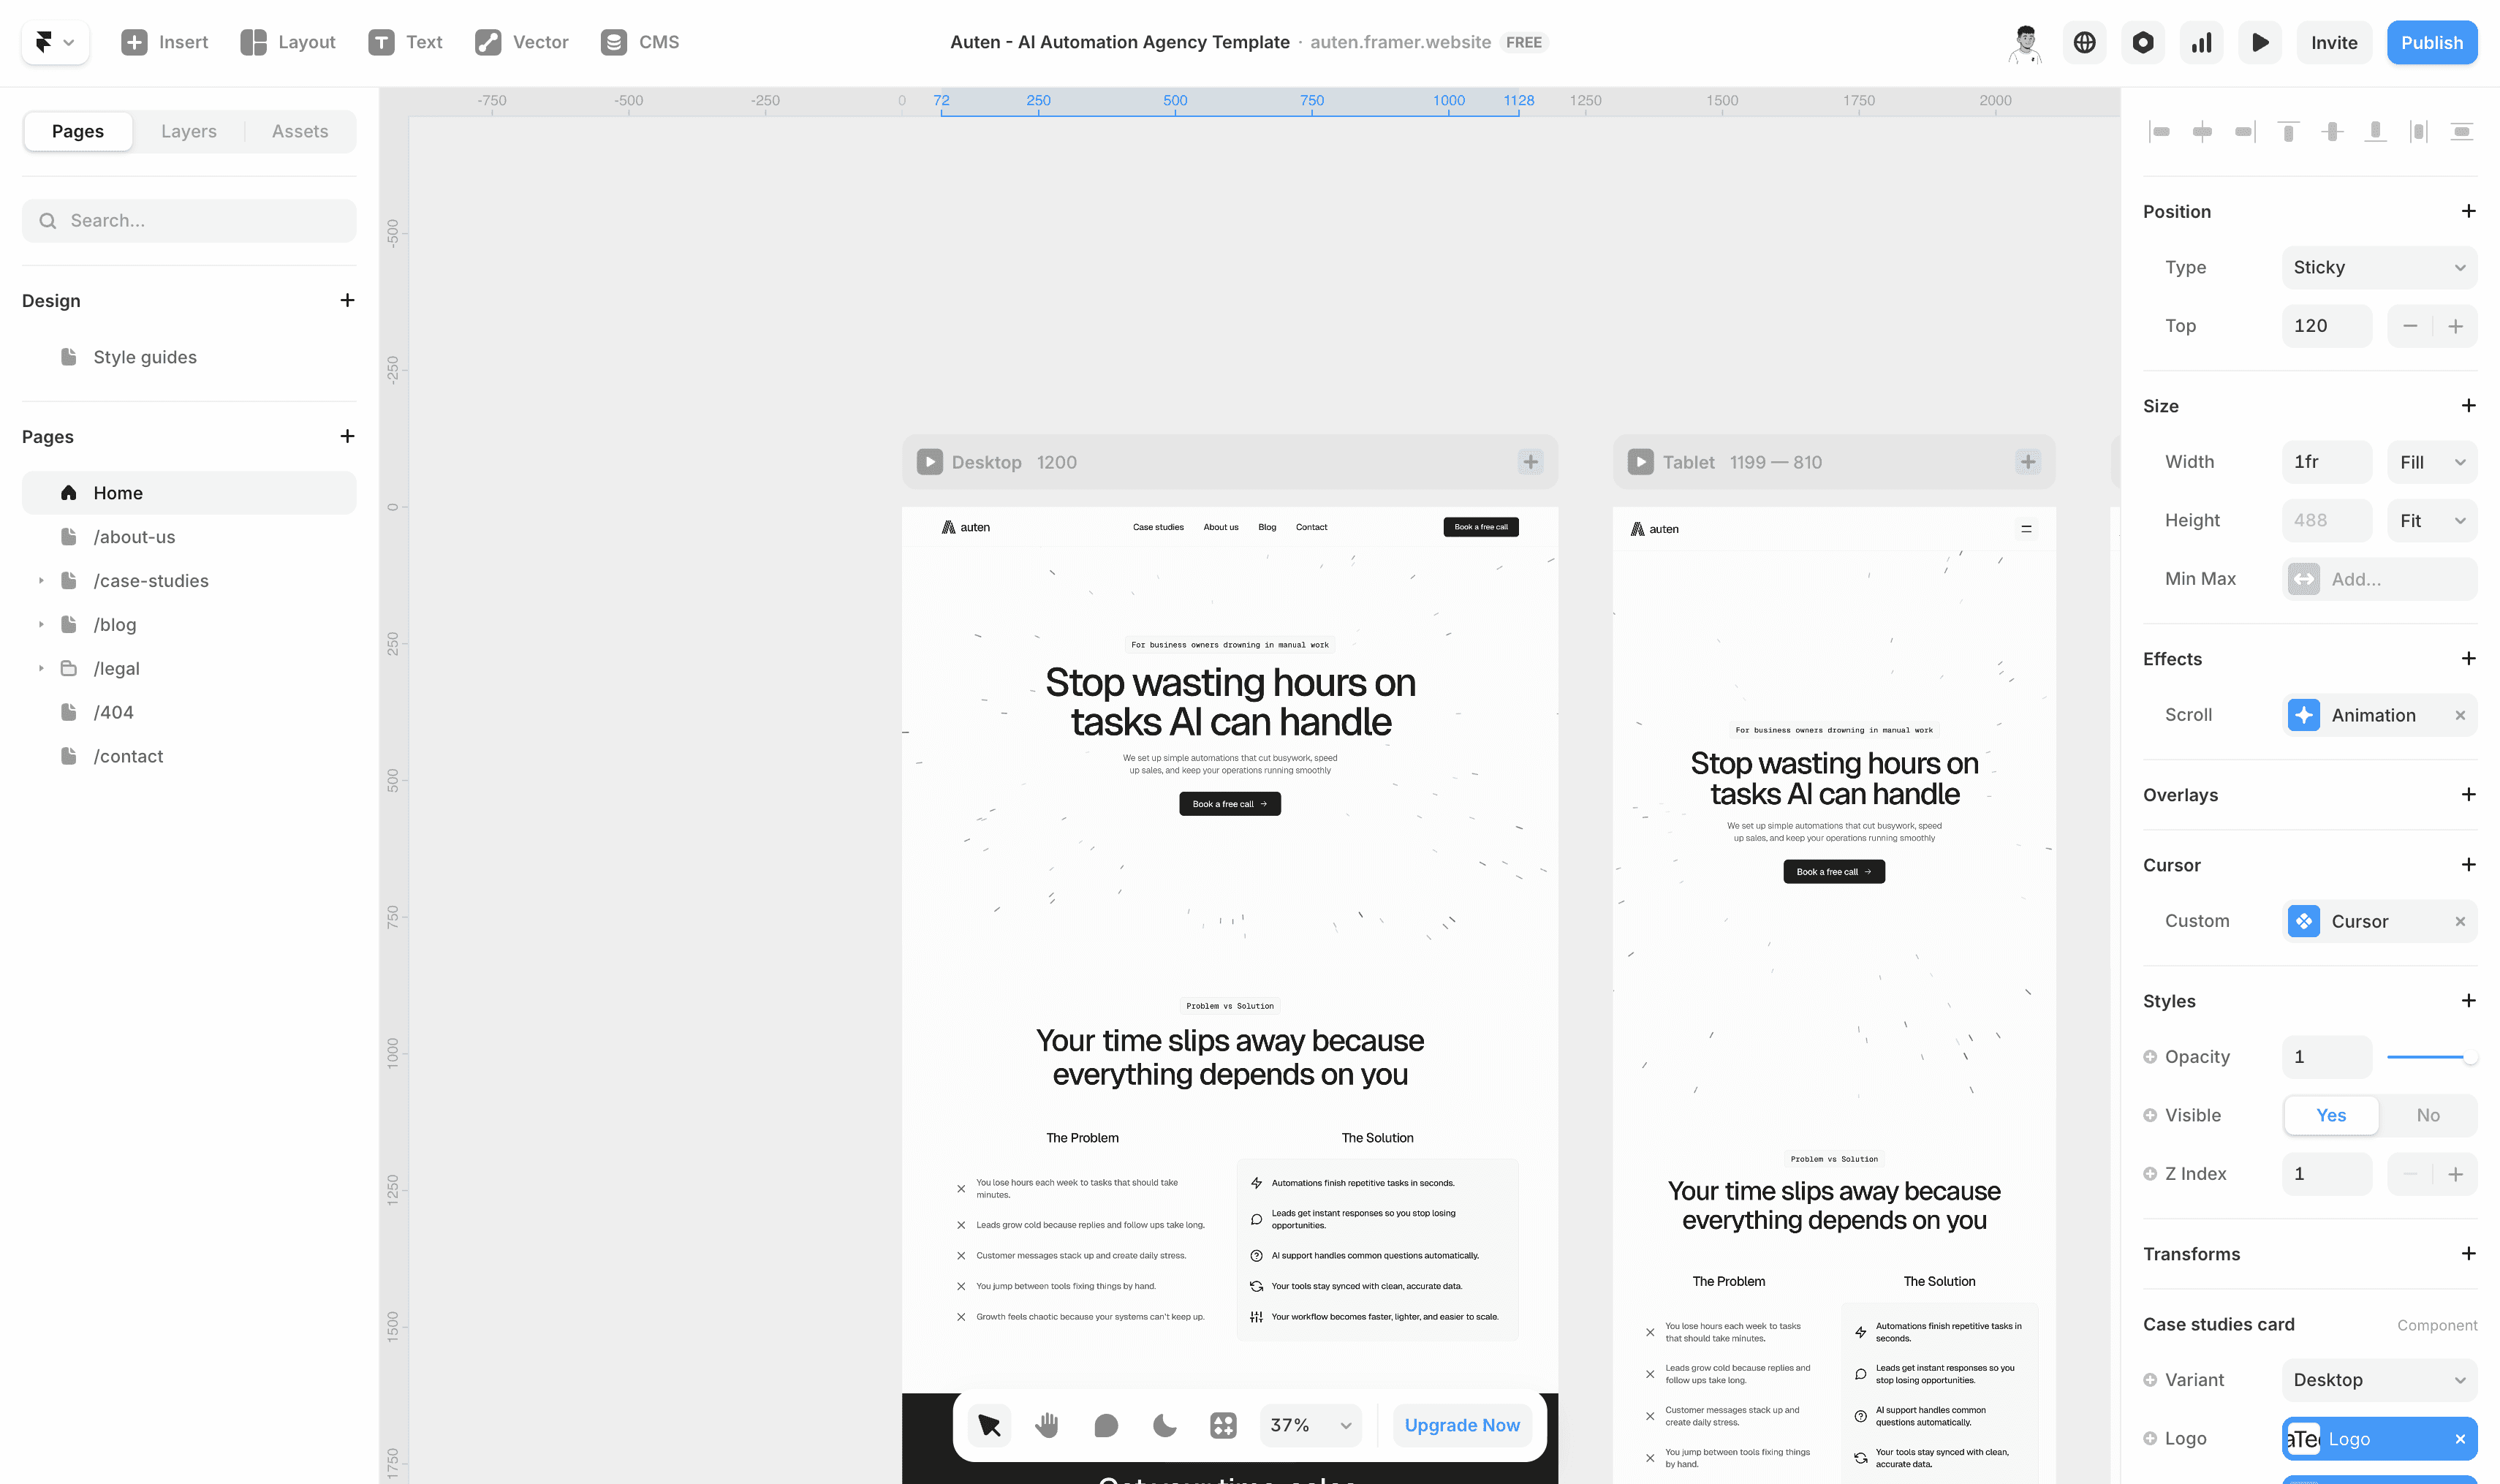
The Framer workspace has four main parts:
Left sidebar
Canvas
Right panel
Top bar
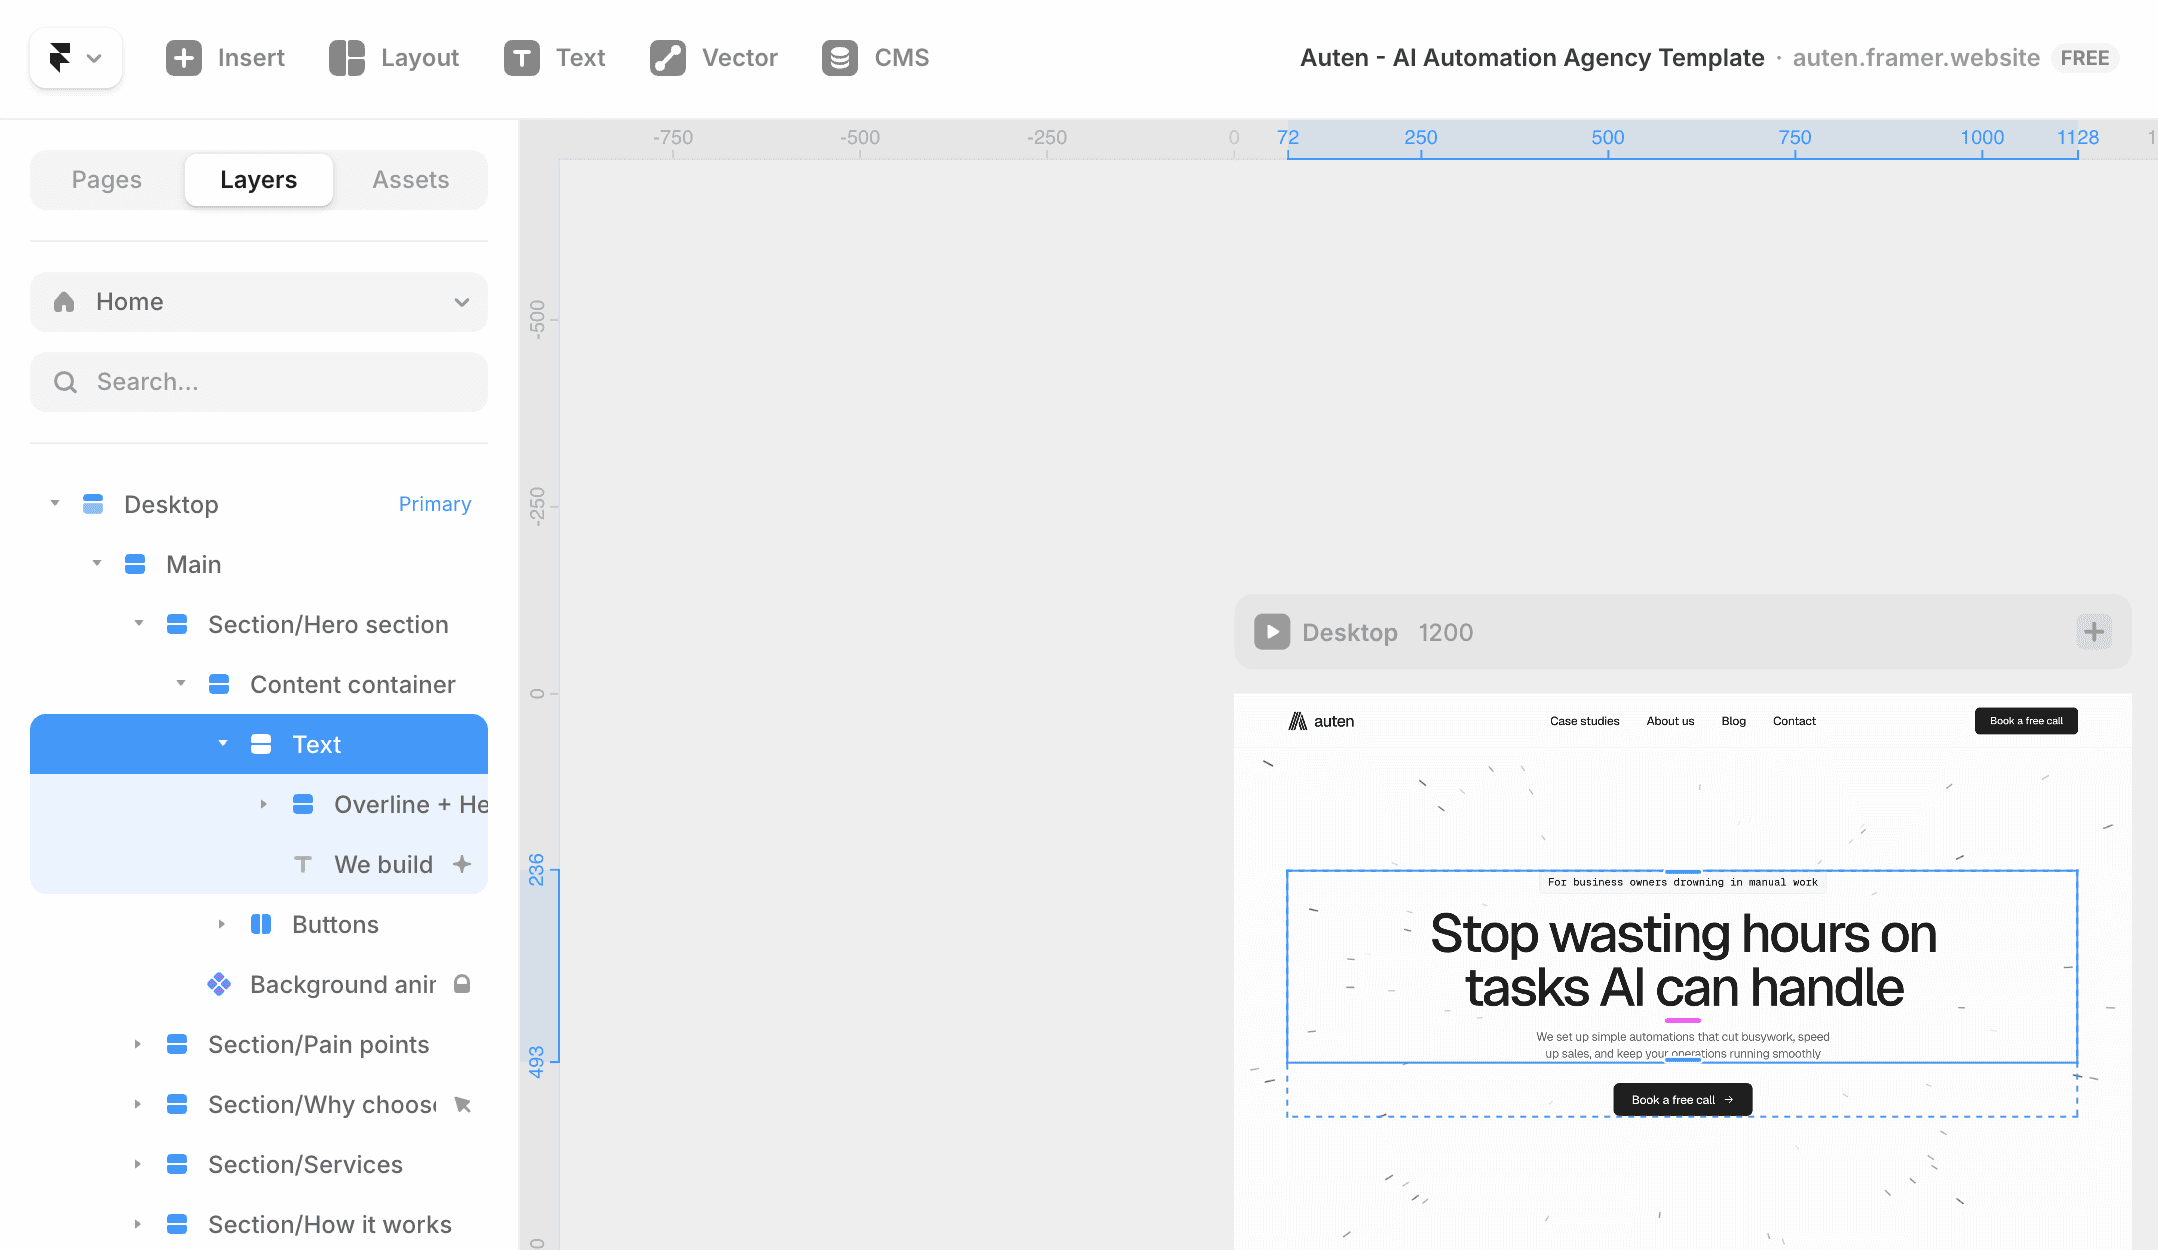
Left sidebar has three sections:
Pages, where you see all pages on your site and can add or remove them
Layers, which shows every element on the site. Clicking a layer selects it on the canvas
Assets, where all components live, plus text styles, colors, and links. This is where you control all global styles
Canvas is the main area in the center. This is where you see your site with multiple breakpoints and visually select what you want to edit.
Right panel is where about 70% of template editing happens. Besides technical options, you can edit all content here by clicking a layer.
All components are edited in the right panel using variables. Framer makes content editing incredibly simple.
Top bar includes project settings and shortcuts on the left, and site settings on the right like localization, analytics, preview, and publish.
What does a Framer template include?
Every Framer template is made up of pages, sections, stacks, and a lot of components.
When a template is well organized, all layers are clearly named, making navigation easy.
Components are the core of customization and usually make up around 70% of the entire site editing process.
How to edit content in a template?
Now that we’ve covered the basics, editing will be much easier.
Text can be edited in three ways:
Text directly on the canvas, double-click it and type, or select the text layer and edit it in the right panel
Text inside components, where you select the component and change everything from the right panel
Repeating content like projects, case studies, or blogs, which is edited in the CMS and updates everywhere automatically
How to change images?
Images work very similarly to text.
Most of your images will likely come from the CMS if you have multiple projects.
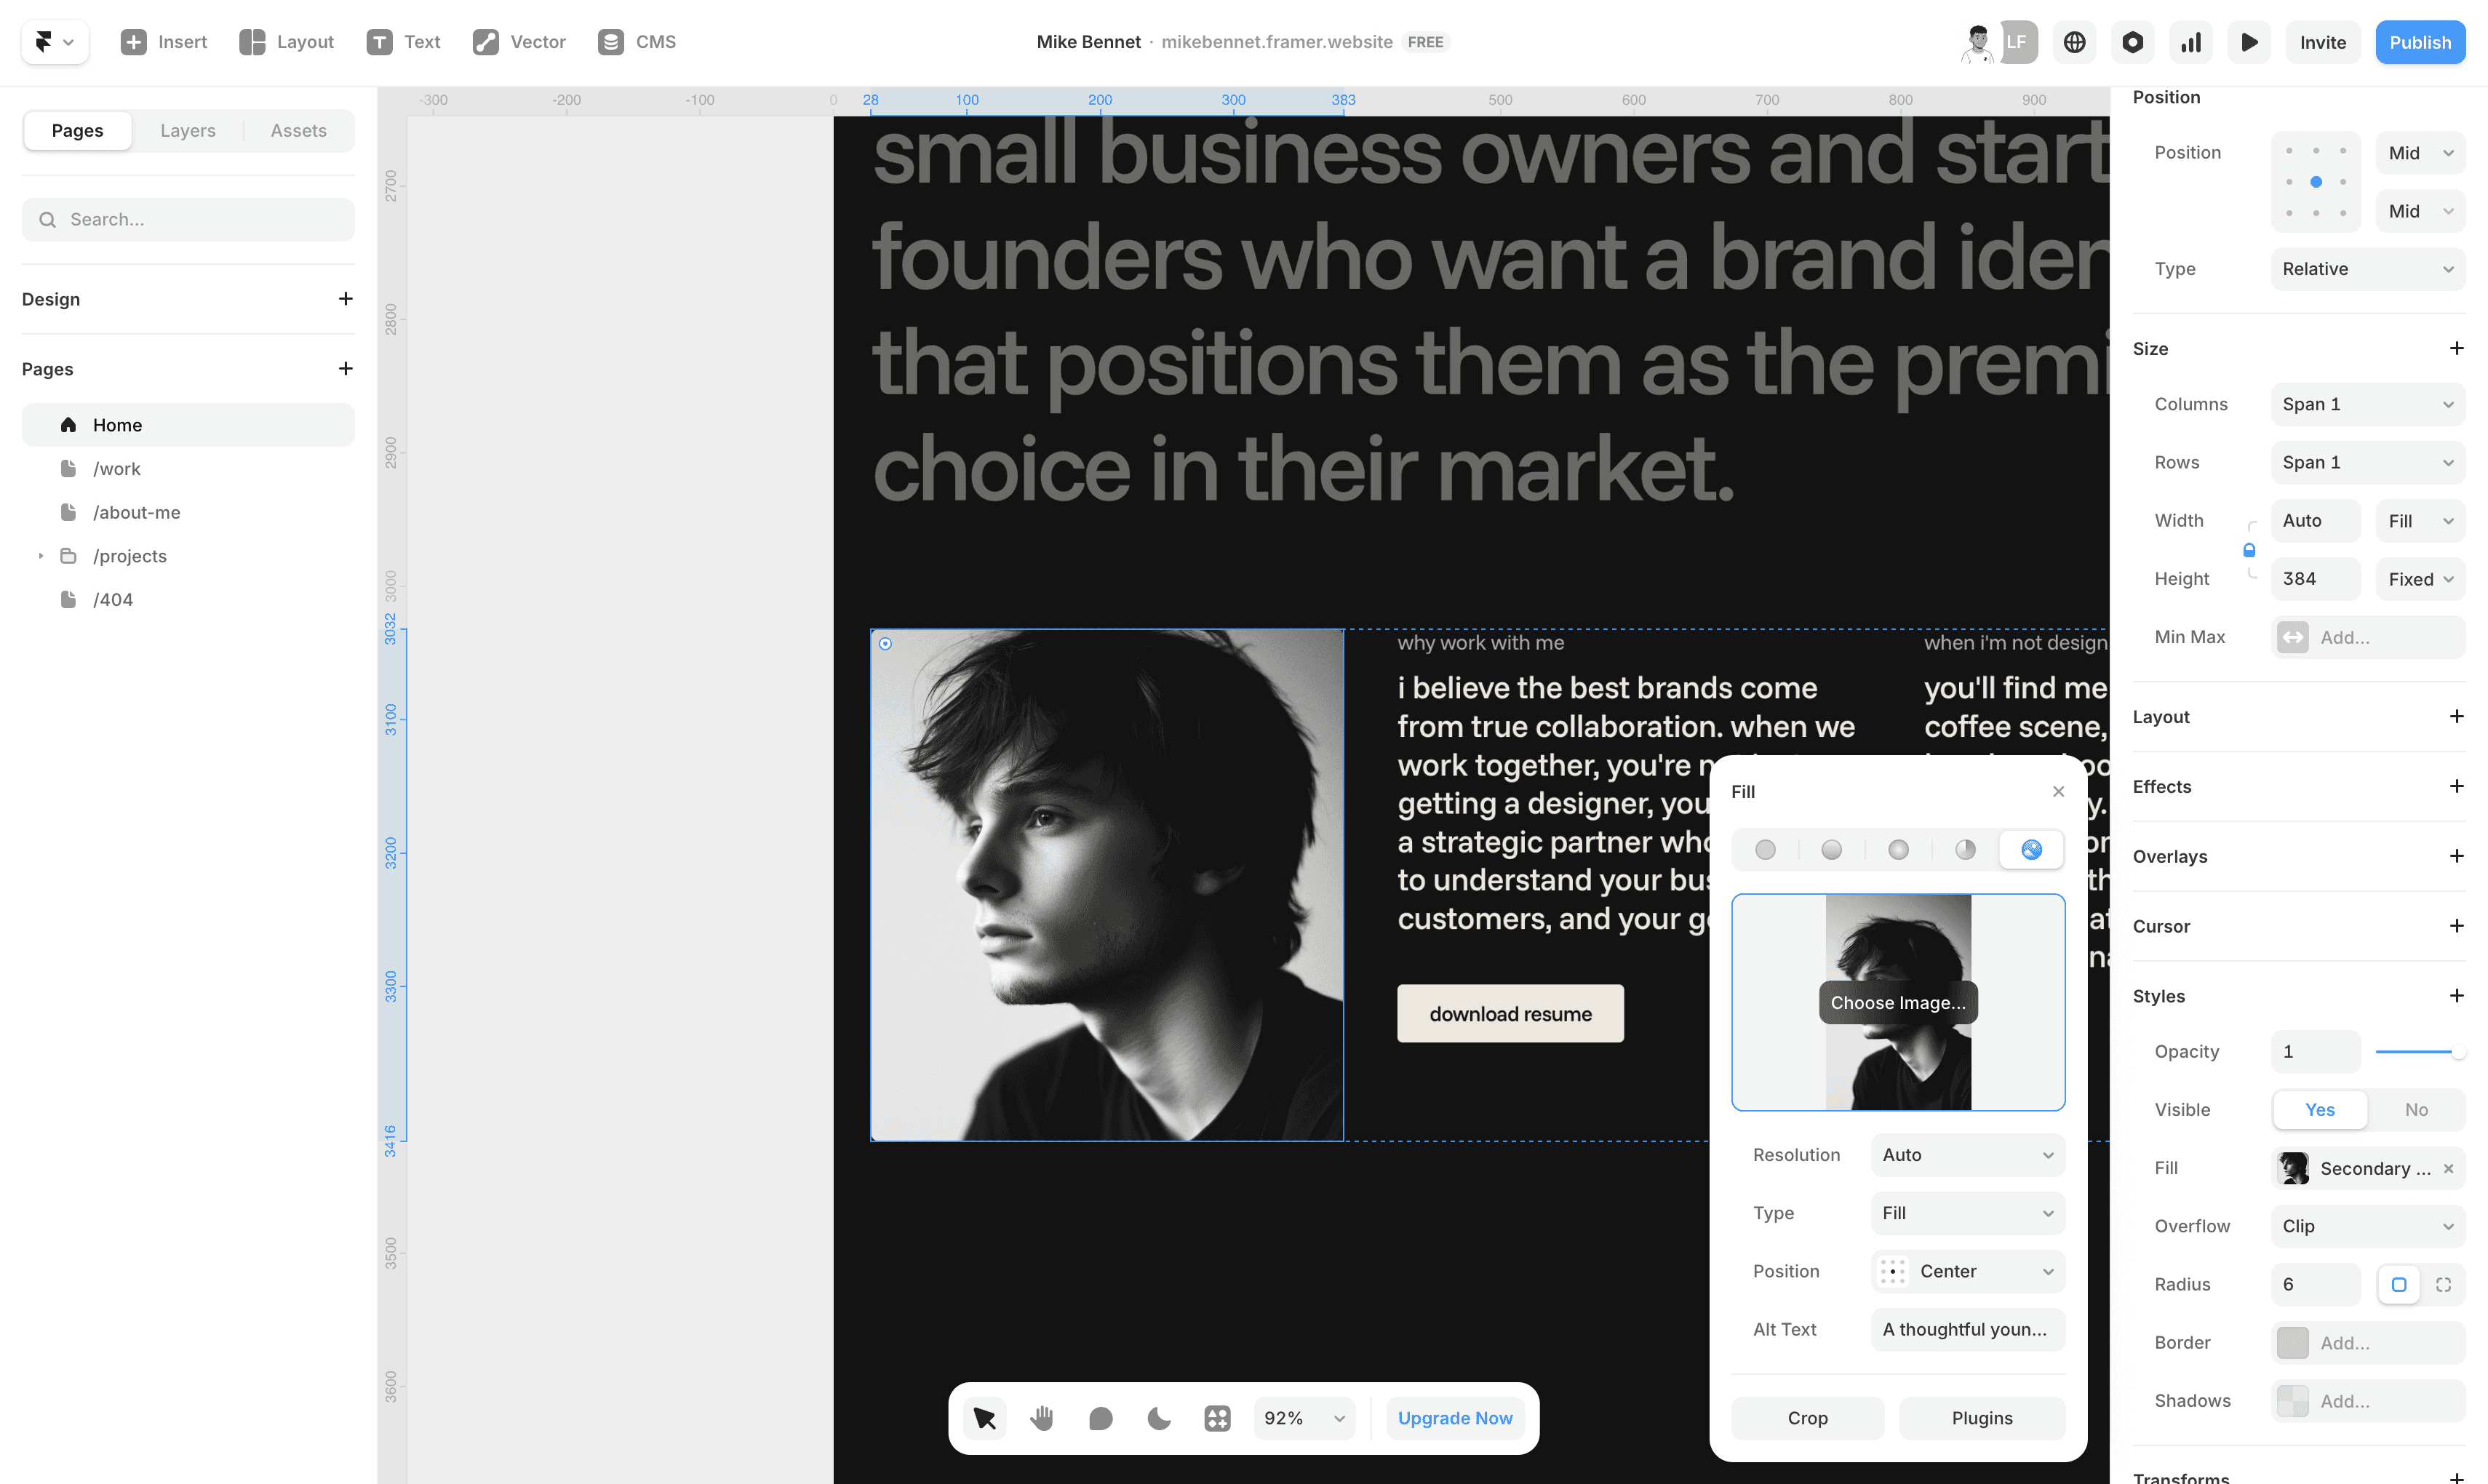
To change an image on the canvas, click it, go to the right panel, choose Fill, then Choose Image and upload.
The same applies inside components, everything is done from the right panel.
When uploading a logo, Framer recommends using SVG files for better quality.
How to change colors and fonts?
Every good template includes this, otherwise it wouldn’t be on the marketplace.
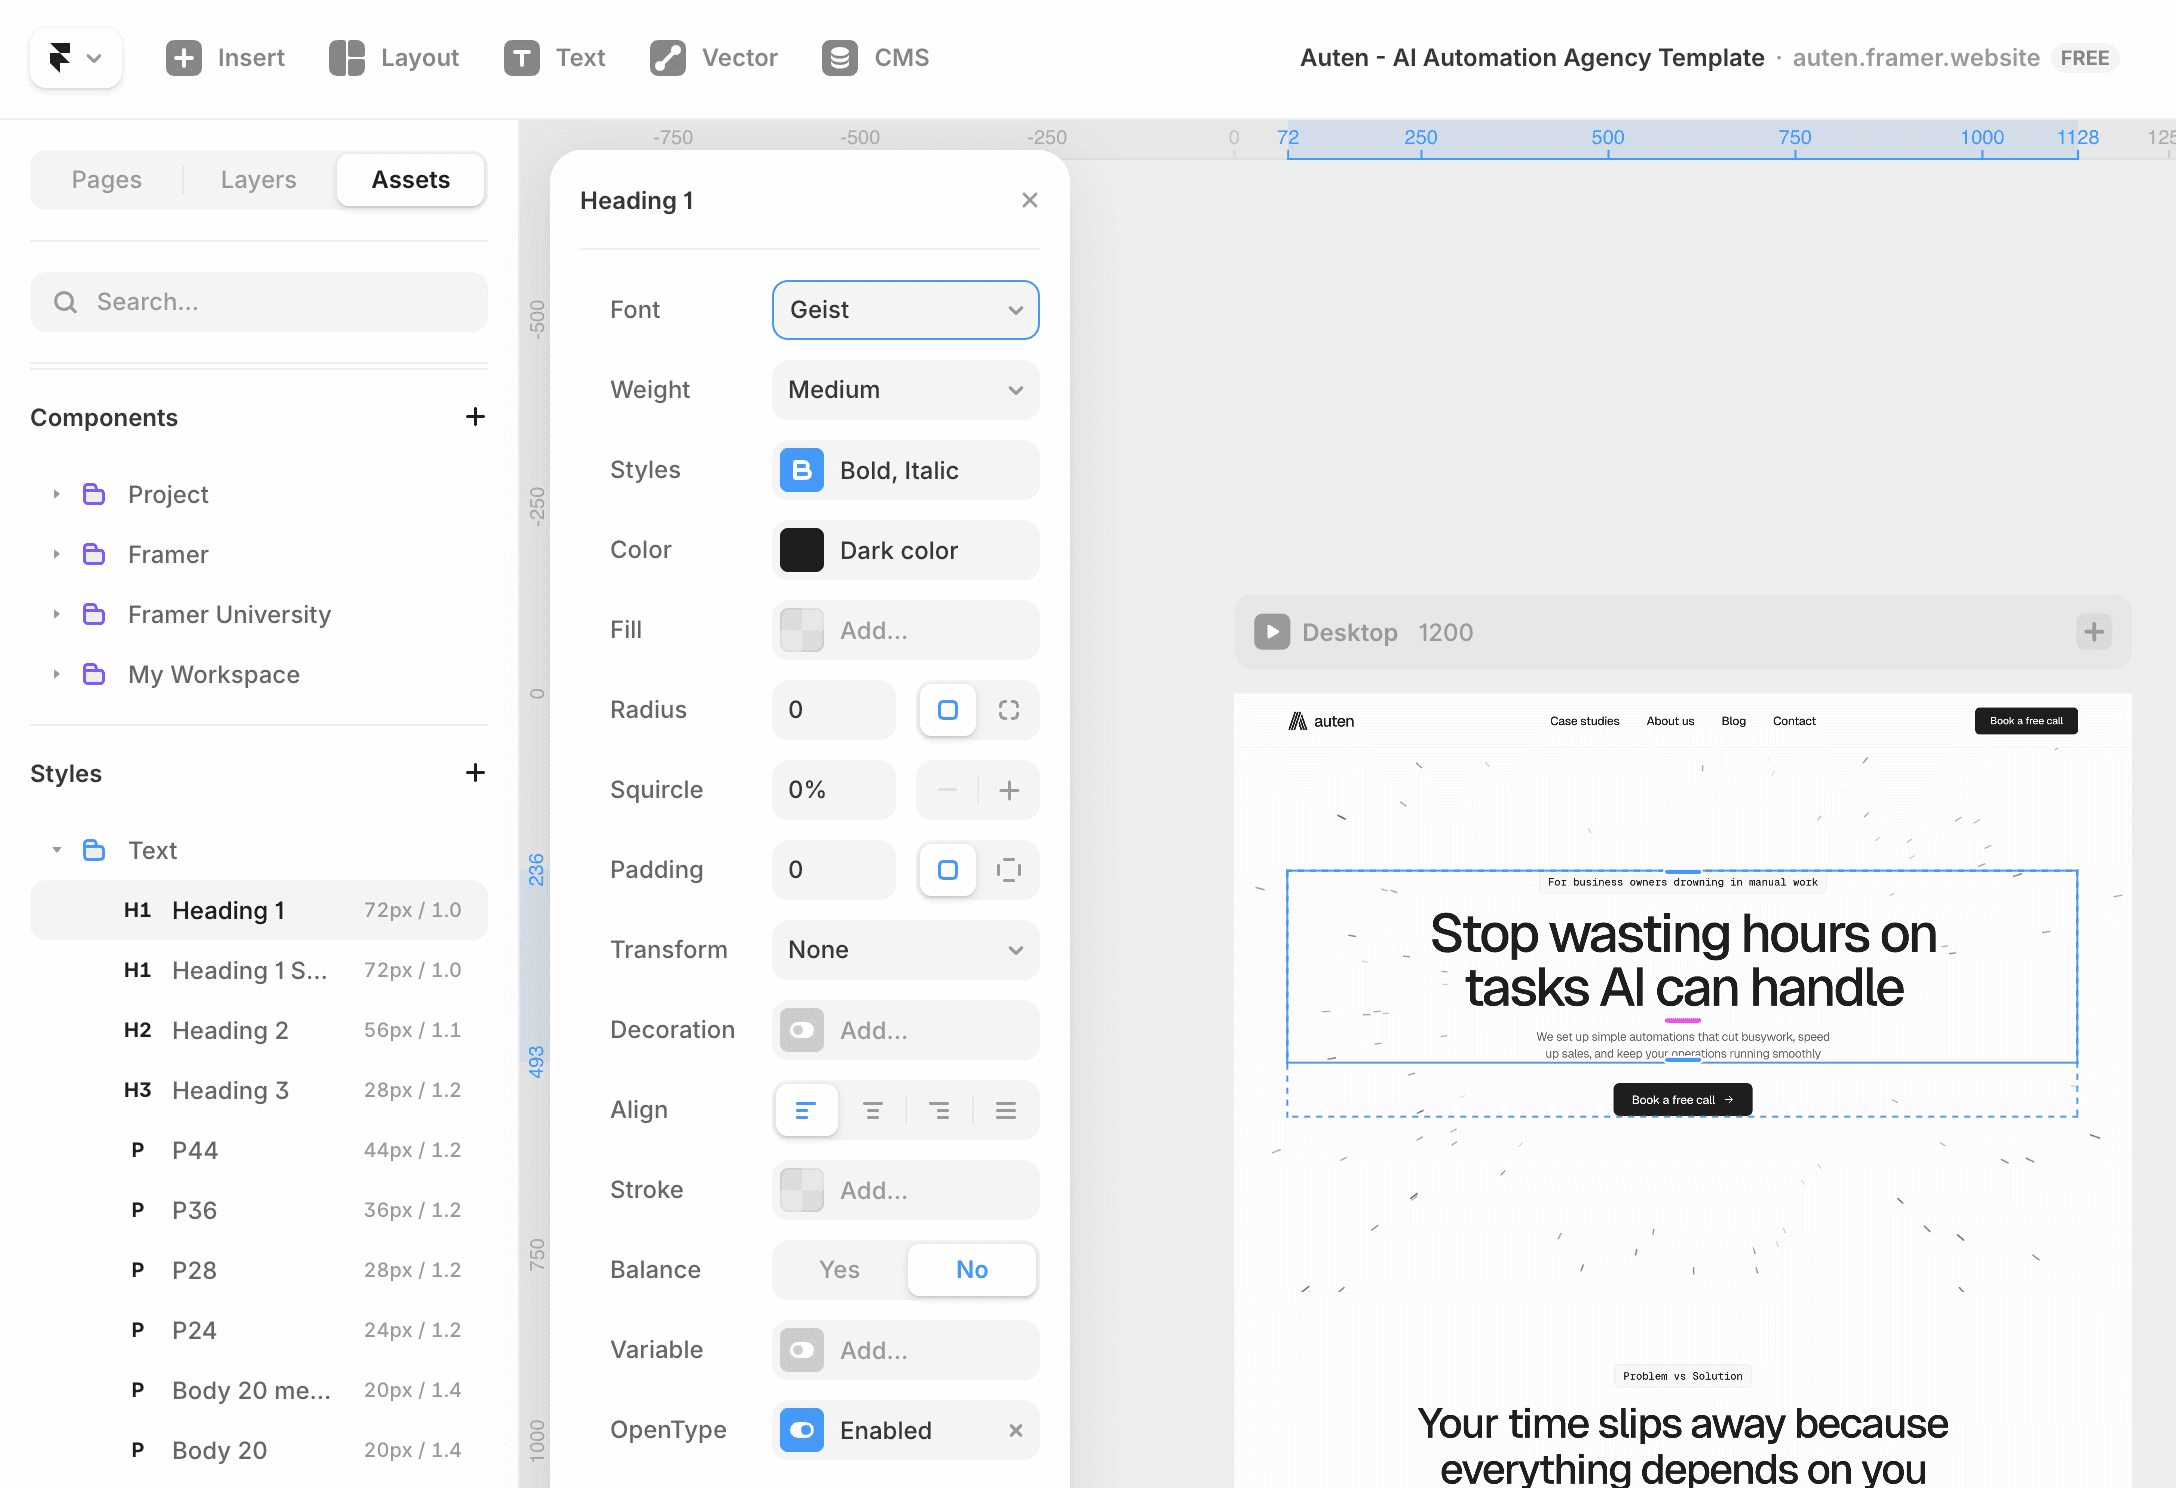
Colors and fonts are handled through styles in the Assets panel. Any change you make there updates automatically across the entire site.
Just select a color style, enter a HEX code, and it updates everywhere.

For fonts, I recommend Google Fonts for better performance.
Some fonts look different at various weights, so a bit of personal taste matters here.
Each of my templates comes with a library of 80 fonts and pairing suggestions to help you choose.
Honestly, the safest option is not changing the fonts at all. The creator already chose them for a reason, and your life will be easier.
How do components work?
This is one of Framer’s strongest features.
Template creators rely heavily on components because they make editing faster for both them and you.
Click a component, and in the right panel you’ll see variables for text and images. Change those and you’re done.
One tip: try to match the length of the default text when writing your copy. Longer or shorter text can break the visual balance.
How to edit layout? (Optional)
You may not need this, but it’s good to understand the basics.
Site structure looks like this:
Desktop → Main → Sections → Content container → Components and stacks
When you select a responsive layer, you’ll use Layout options in the right panel.
You’ll mostly work with Stack and Grid.
Stacks control direction, alignment, spacing, and padding. Try not to change gaps and padding too much.
Grids use rows and columns. If you add more elements than expected, you may need to increase rows or columns.
Each content container also has a max width. My advice, don’t touch it 😄
How to edit the CMS?
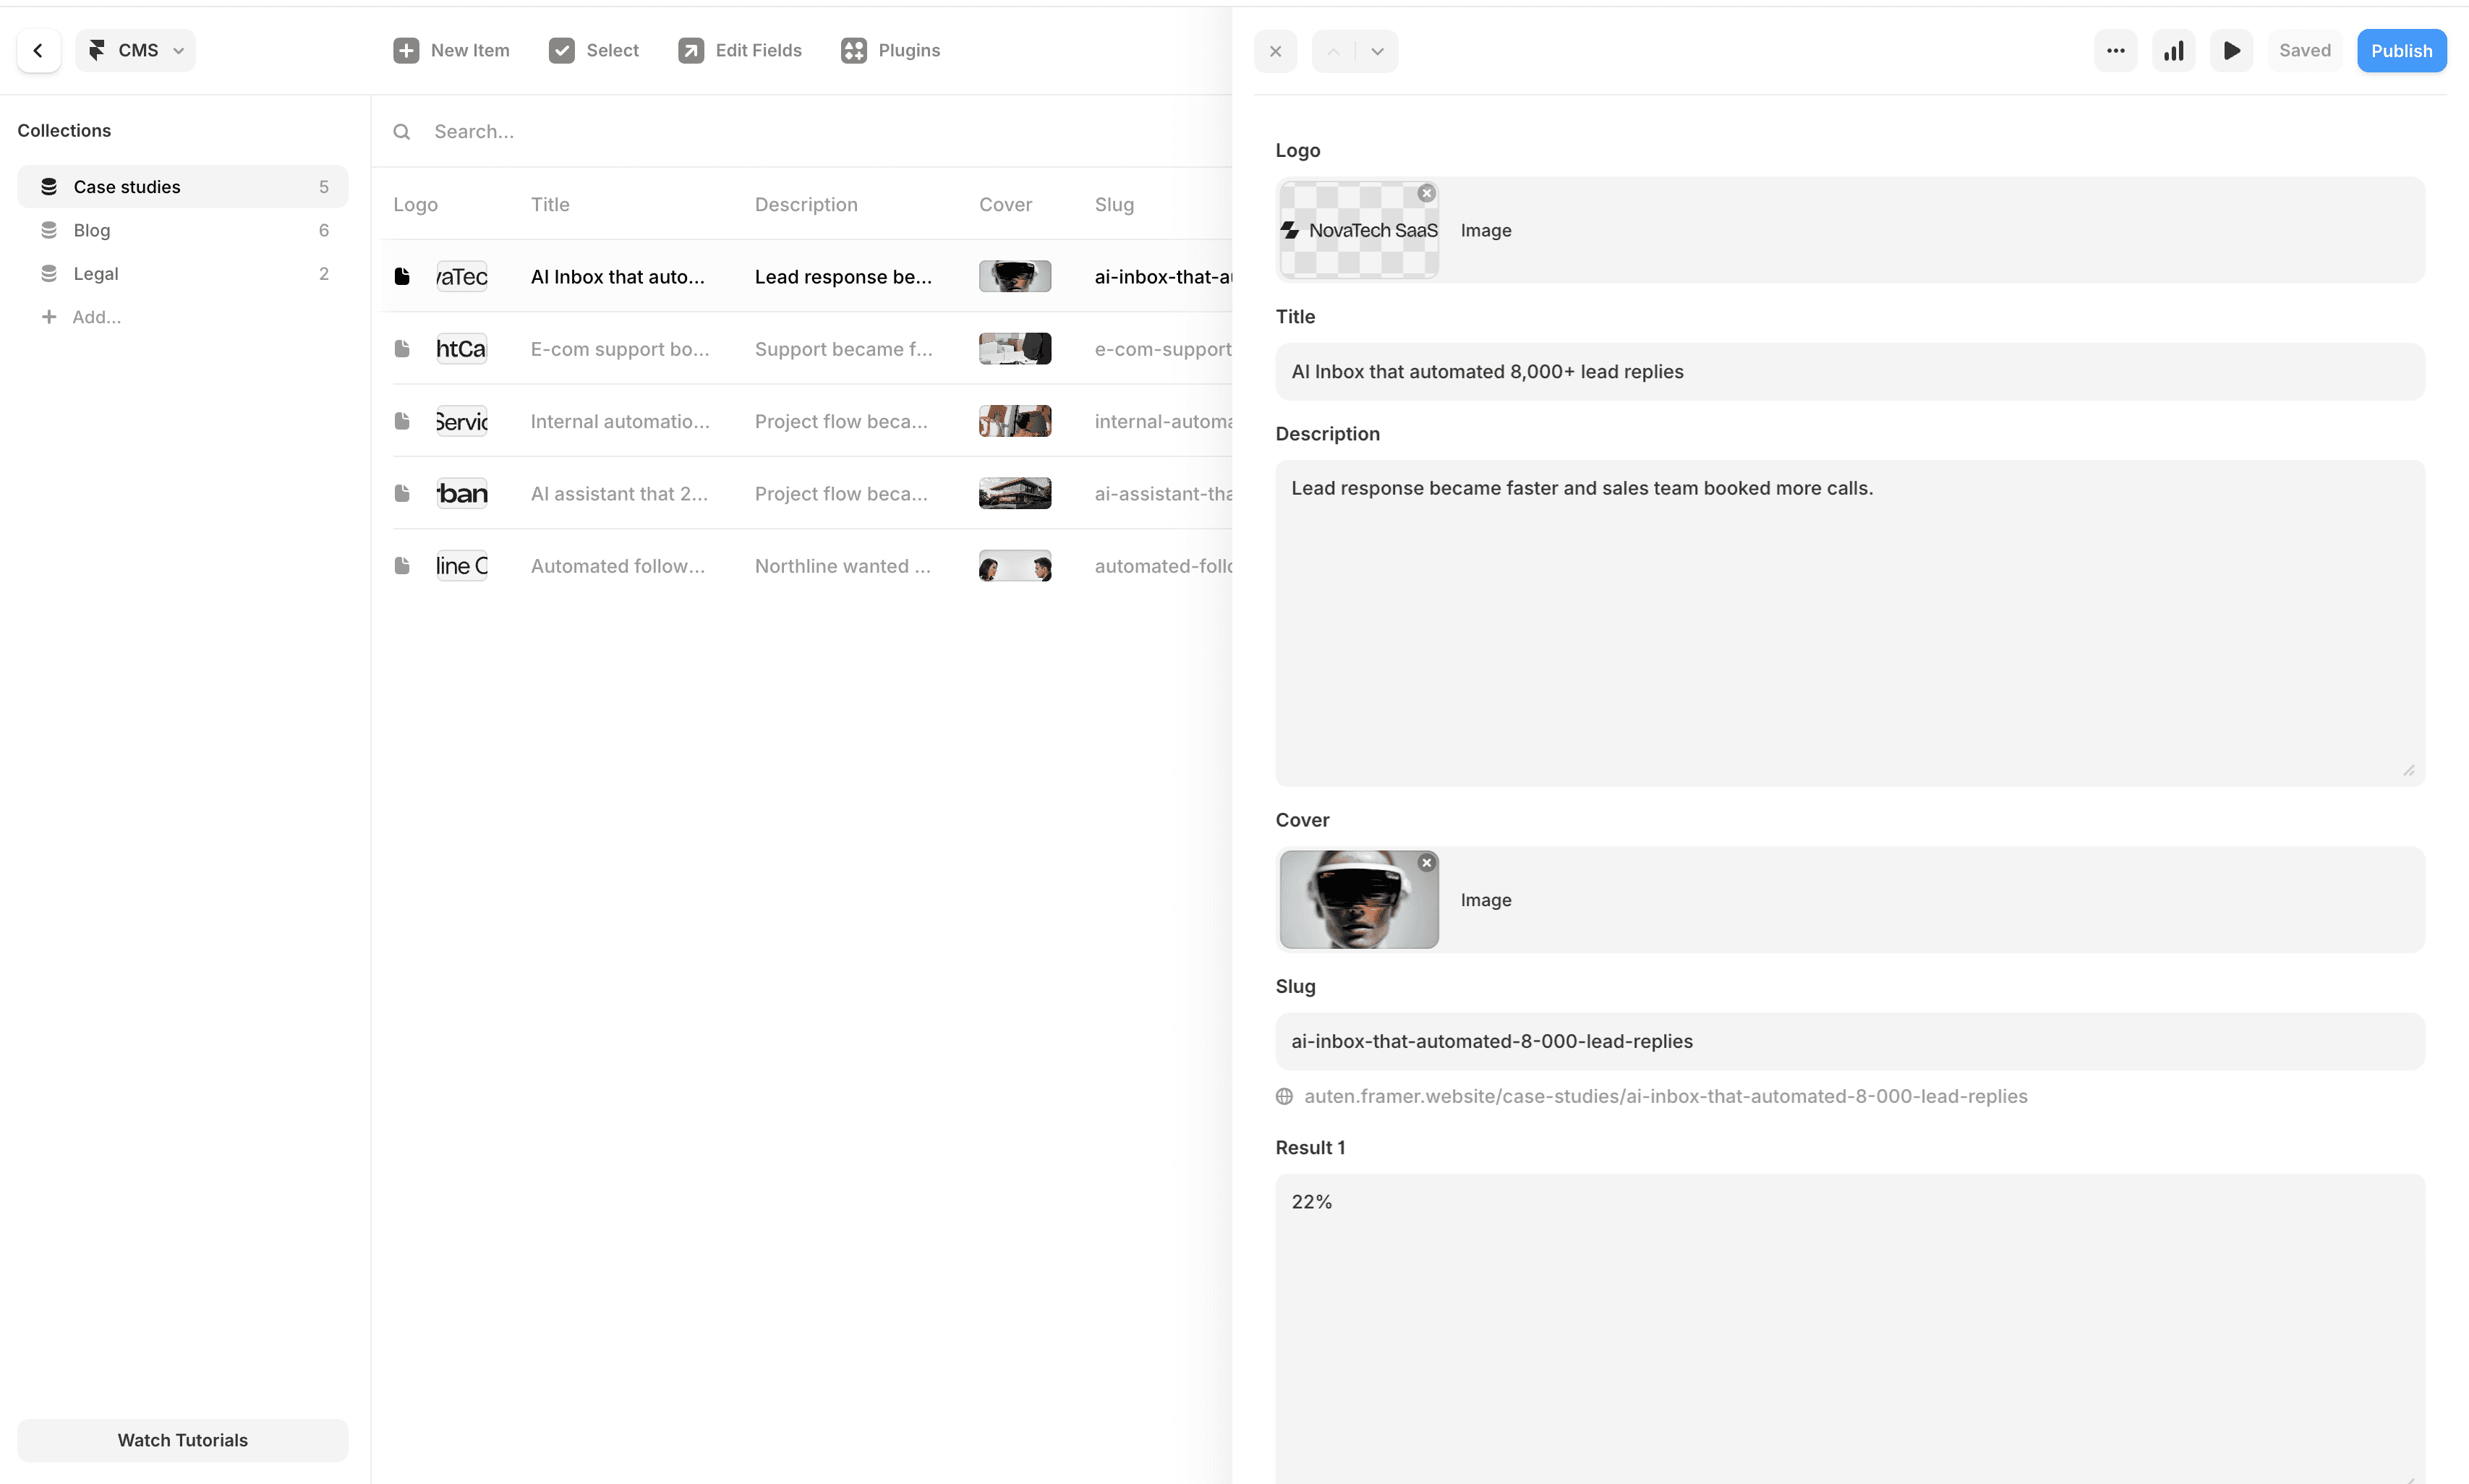
CMS is used for repeating content.
Click CMS in the top-left, and you’ll see one or more collections with items.
Anything you change in a CMS item updates everywhere it’s used.
Each project, blog post, or case study has its own detail page, and all edits happen directly in the CMS.
To add a new item, click “New item” and fill in the fields.
To delete, duplicate, or set to draft, right-click the item and choose an option.
Avoid adding elements directly on detail pages in the canvas, since that will affect all items.
How to change links?
Links are usually on buttons and those buttons are components.
Each button has a link variable. Just paste your link there.
For emails and phone numbers, use:
mailto:youremail@gmail.comtel:123456789
Internal links are already set up and usually don’t need changes.
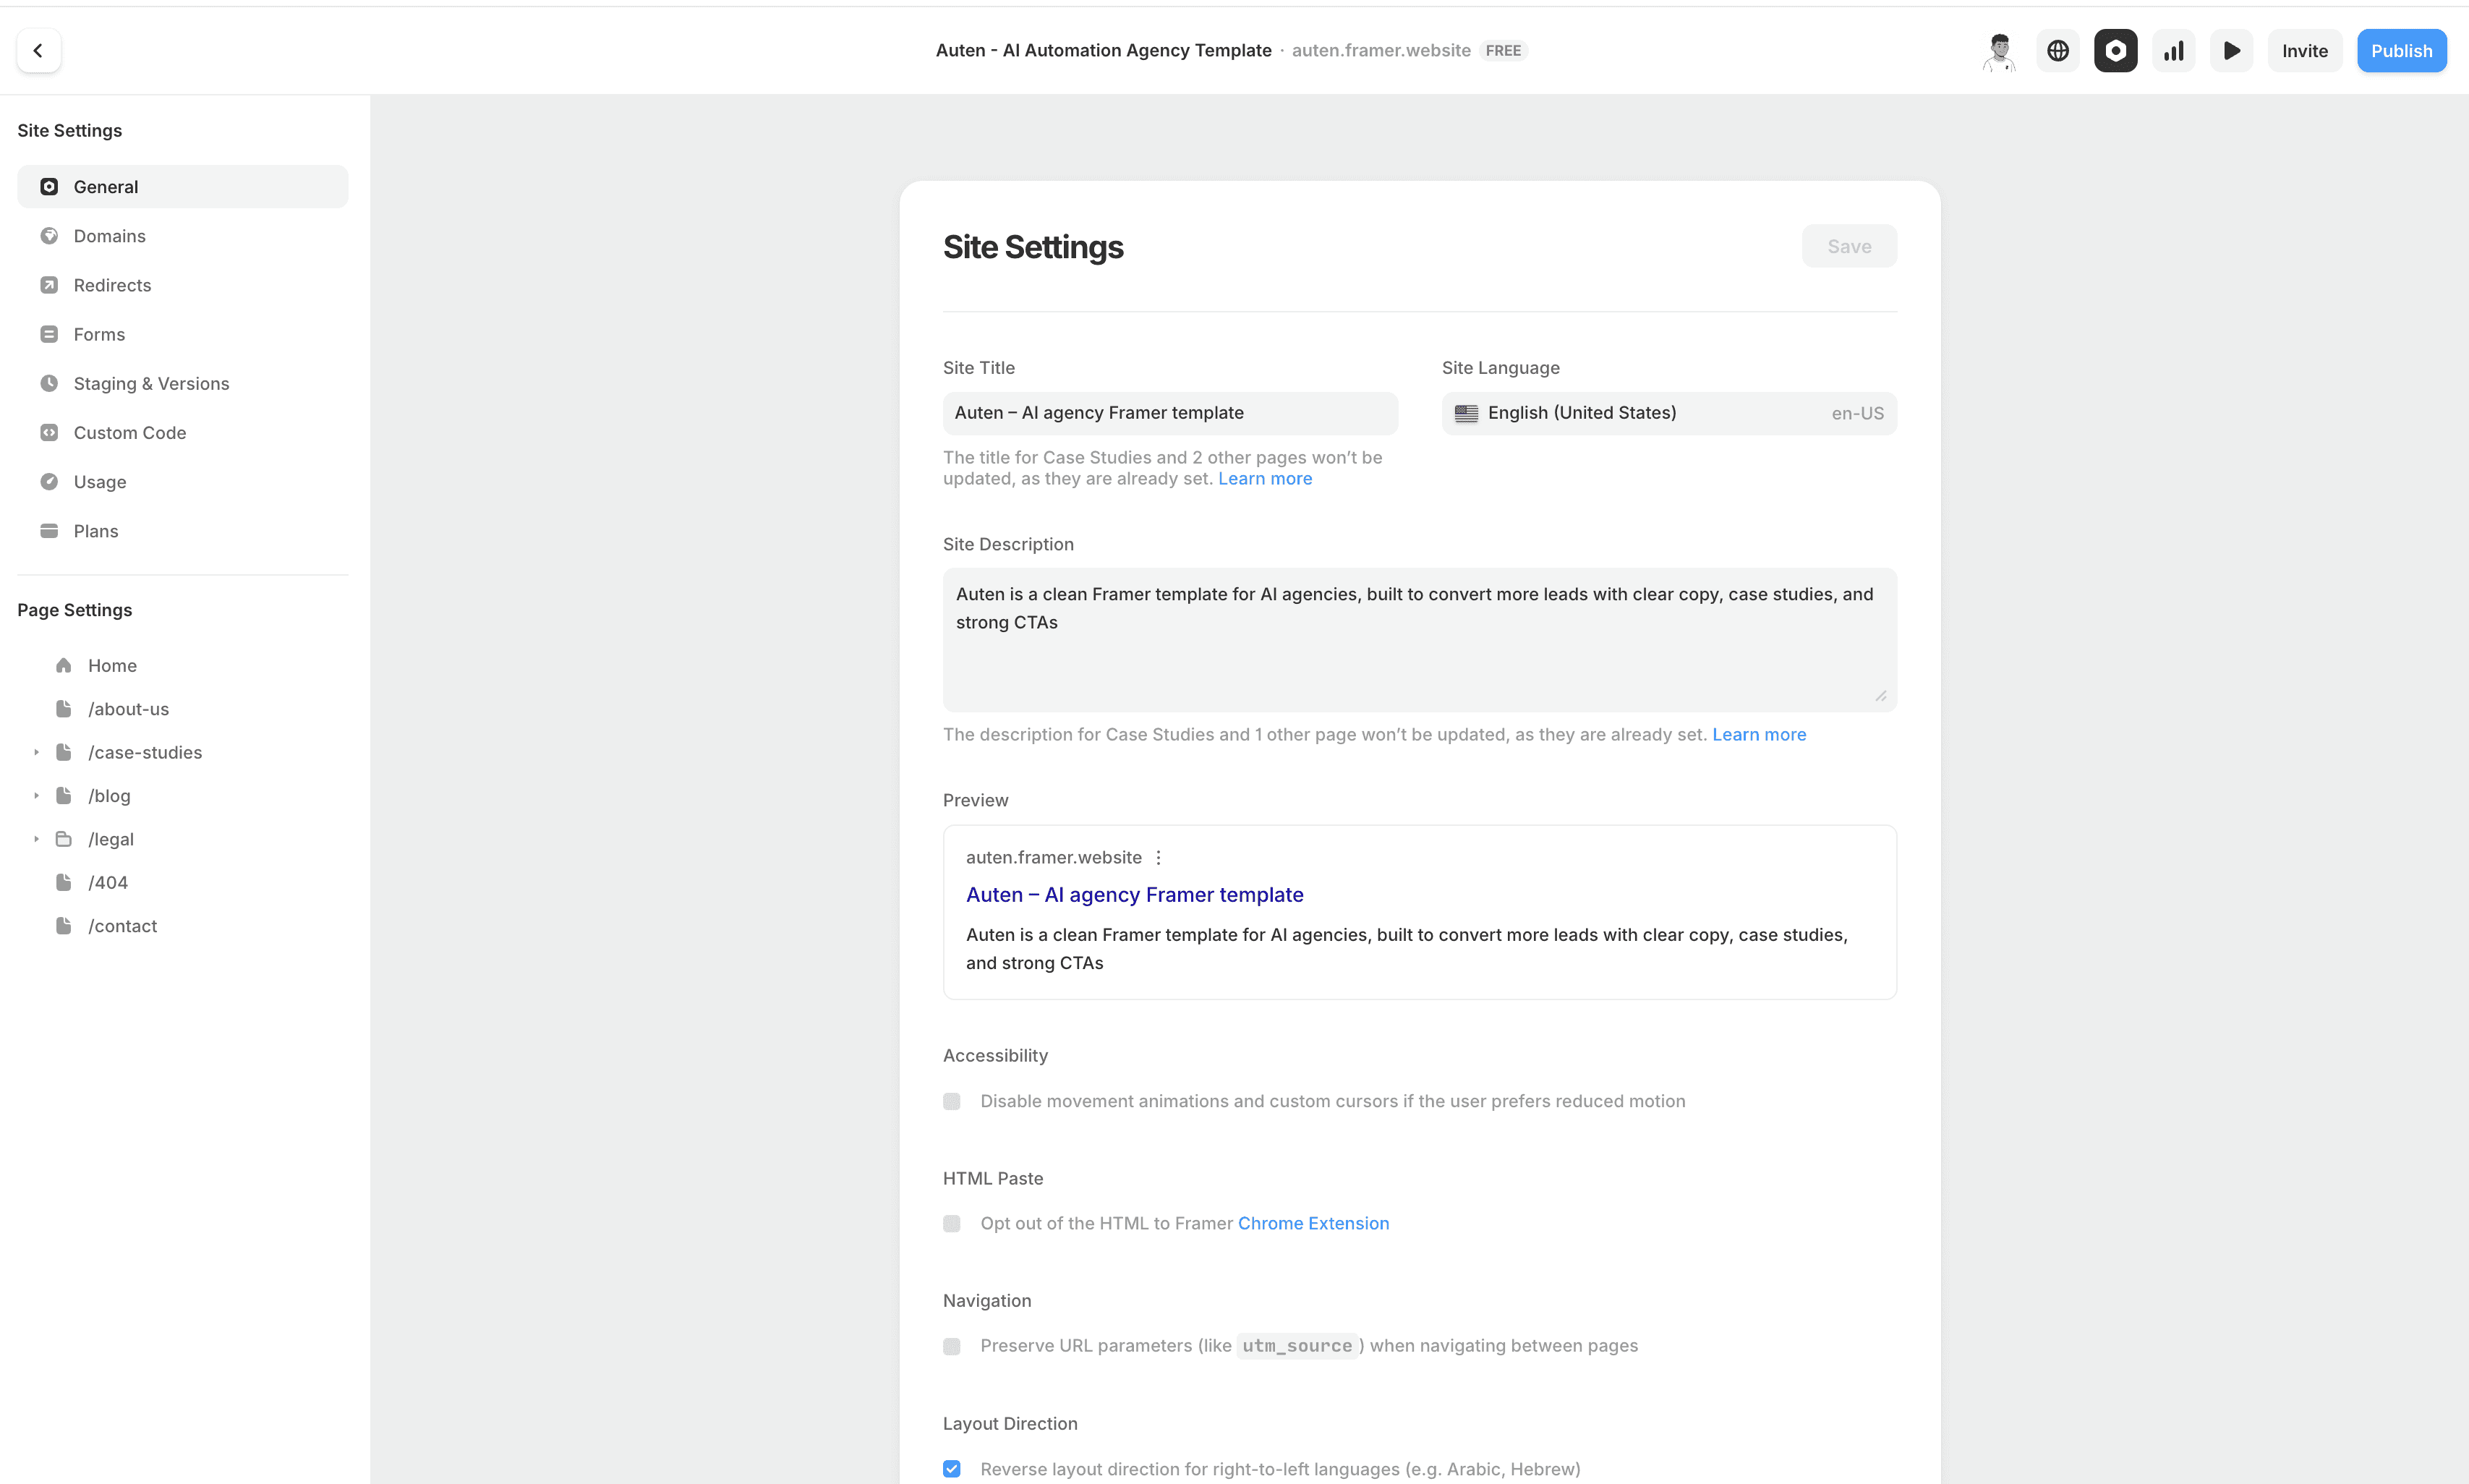
How to edit site settings?
Site settings are in the top-right corner.
For SEO, make sure you replace the template name in the meta title and description with your focus keyword.
Each page can have a different focus keyword, title, and description.
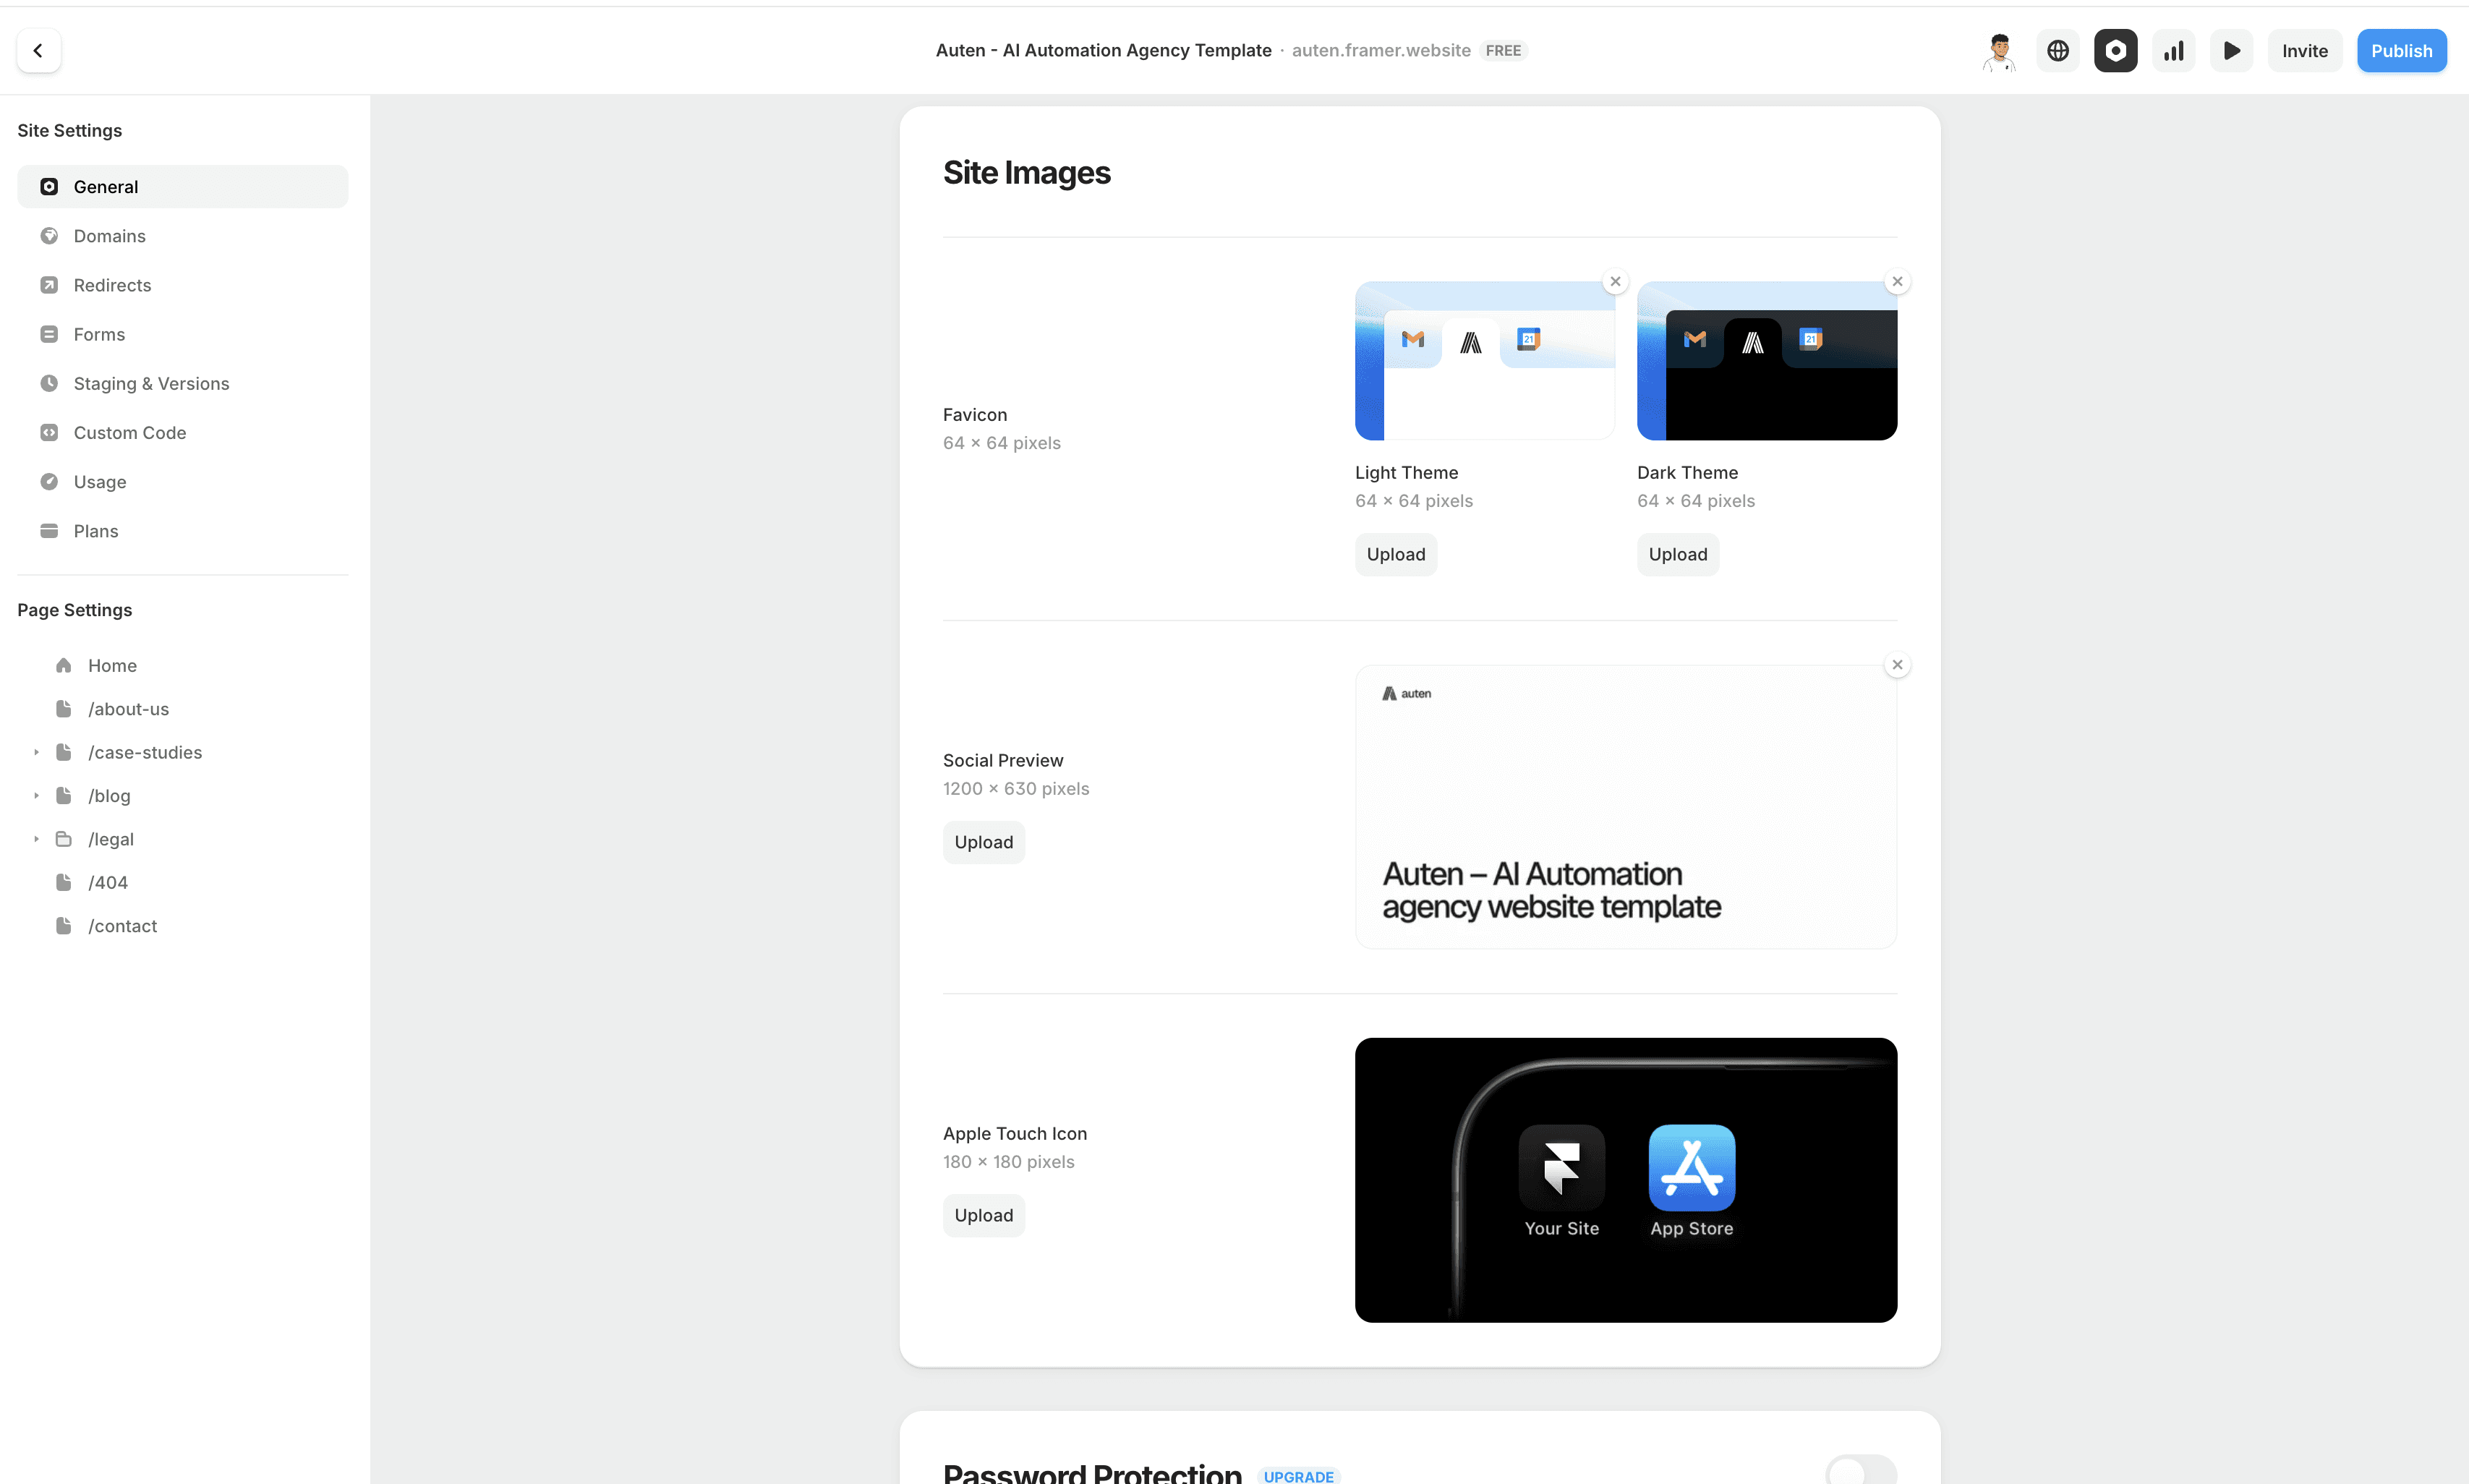
Don’t forget these images:
Favicon (64x64), usually your logo or symbol
Social preview image for sharing links
How to set up a domain?
First, you need to buy a Framer plan.
There are Basic, Pro, and Scale plans.
If you have multiple CMS collections, you’ll need Pro. Simple sites usually work fine on Basic.
Many template creators offer discounts on plans.
After that, go to the Domains section in the left sidebar.
You can buy and connect a domain directly through Framer, or connect one from providers like Namecheap or GoDaddy.
That process is a bit more complex. This video helped me a lot and covers multiple providers:
Link to video
How to use PageSpeed Insights?
This is more advanced, but useful for checking site performance, image optimization, and broken links.
It’s especially helpful for creators, but it can benefit you too.
That’s it!
We covered everything, and even more than expected. You now have everything you need to successfully launch your site.
It can be challenging sometimes, but Framer is the best design tool for this, with some of the highest-quality templates out there.
If something feels hard, ask the creator for help. They’ll usually be happy to assist.
With every one of my templates, you also get a pre-launch checklist to save time and guide you step by step.
I’ll leave the link below so everyone can access it.
You also get extra resources, including:
A custom GPT that writes high-converting copy at the same length as the default
Video guides covering everything we talked about
A GPT that helps you create irresistible offers and build your site around them
Check out my templates at the link below
Neutro Supply - Framer templates